Glock 43MOS slide to Holosun 507K
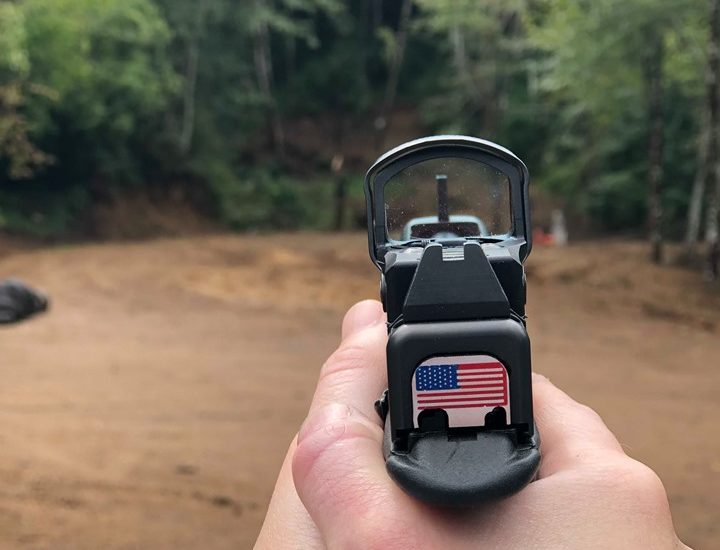
Pistol mounted optics are the way of the future. You don’t just need aging eyes to literally see the difference. The ability to stay target or threat focused while aiming and have at the moment decision making should be enough to make you want to switch to them without even considering all of the other benefits.
There are some wonderful pistols available these days that offer concealability, round capacity, and the ability to mount an optic. Not all of the footprints that manufacturers choose are the one you might want though!
The Glock 43X MOS and G48 MOS have an RMSc footprint. This RMSc footprint means that it has four recoil lugs with two in the front and two in the rear. This is great – if you want an RMSc footprinted optic which some of us aren’t interested in. There are solutions for this with adapter plates but this means another expense and that the optic sits up higher than it could be without!
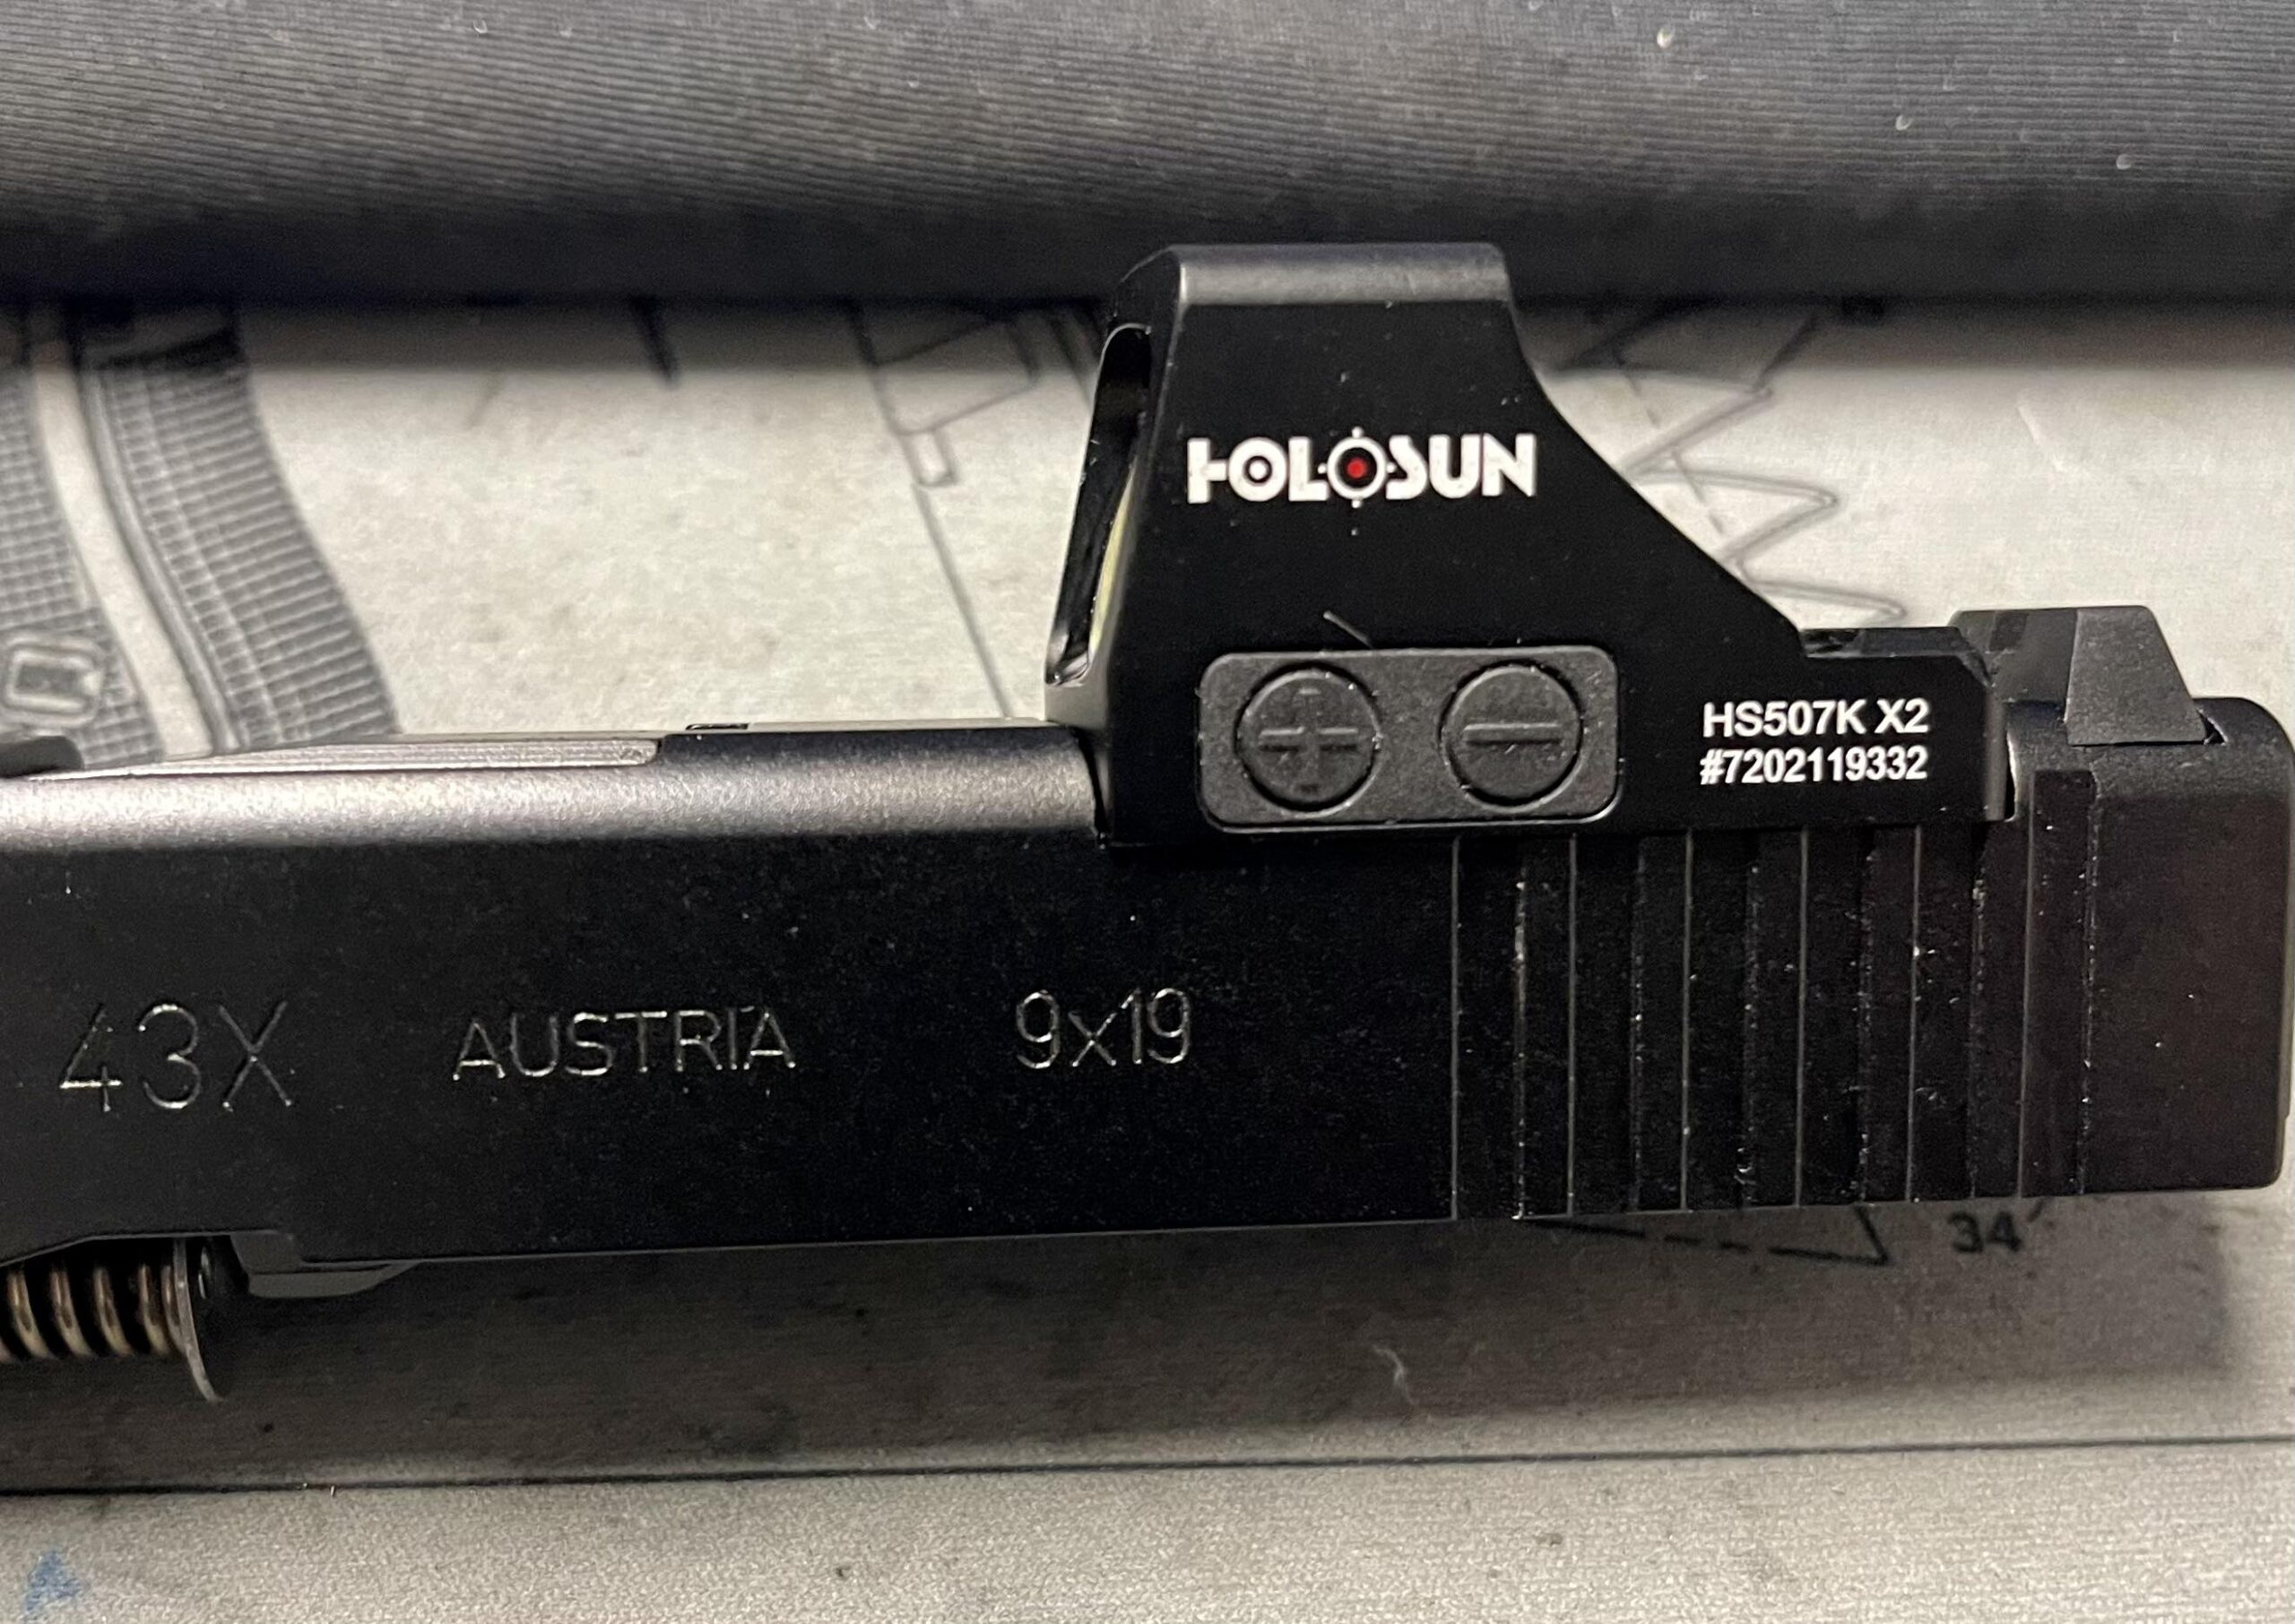
This isn’t an article about or even me dogging on the Shield Sights RMSc. I am just saying I don’t prefer that optic but I do however like the Holosun 507K. The Holosun 507K has a footprint that fits directly to a few different pistols like the Sig 365XL but it is an “almost” fit for the Glock 43X MOS and Glock 48 MOS.
So what do I need to do to make it “fit” instead of “almost fit” my Glock?
Grinding or filing down on a brand new pistol can be more than a little nerve wracking but it has it’s rewards. Yes, there are professional outfits that do this for you and they do a phenomenal job at it. If you aren’t mechanically inclined, you probably should just pay for the service. If you, however, are inclined to do this yourself and will pay attention to details you can do it yourself and have an amazing product.
A few measurements will go a long way for you before you get started. Also, some painters tape to keep you from marring your finish unnecessarily will also be helpful. I gathered up what I needed which included my cordless Dremel, a metal sanding disc, a metal file, my calipers, cleaner/degreaser, my Real Avid Smart-Torque and some metal bluing.
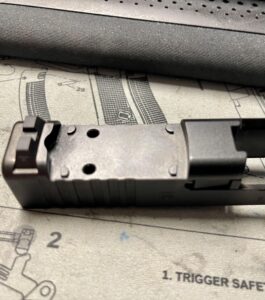
The muzzle end posts on your slide will need about .3 millimeters of height removed since the recession in the optic is .7mil and the post is 1 mil tall. Keep the file flat and pay attention to the edges of your file so you don’t dig into the slide where you’re not grinding! Remove some material, measure, and continue checking often so you don’t remove more material than needed.
The rear posts (closest to the backstrap or rear sight) will need to be filed to flush. This is where using the Dremel helped me out and saved time. I made sure to have a firm hold on the slide and gently touched the Dremel to the post while at speed so it wouldn’t jump around and removed material until close to flush. I then finished with the file, making sure to hold it flat to the surface of the slide.
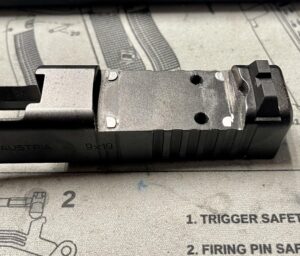
Once this was done, I cleaned and prepped the surface with part of my bluing kit to clean and degrease it. I dry fit the Holosun to the MOS slide and it was a perfect fit without any gaps.
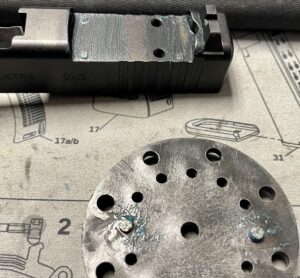
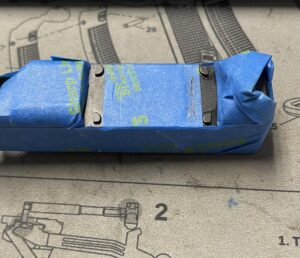
I next removed material from the screws. Looking at the screws that came with the MOS slide with them placed through the MOS plate that I removed, I observed that my new screws would be three threads too long. I removed 3 threads from the new screws that came with the Holosun 507K and threaded them in place with the optic on. I inspected through the depressor plunger hole on my slide to make sure there weren’t any protrusions and saw that it was good to go.
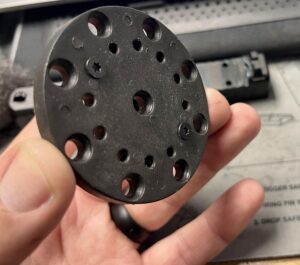
I used a block of plastic that I found to thread the screws into while cutting the ends off to length, for cleaning, and for bluing them. It made it much easier to hold onto them and control what I was doing.
I removed it all and applied the bluing to the slide where I removed material and applied the bluing to the end of the screws that I had to file down.
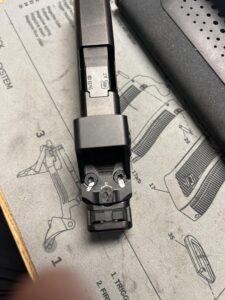
Next, I installed the Holosun 507K onto the slide and used my Real Avid torque driver to torque the screws at 15 in-lbs with some sticky thread lock applied, I used VC-3 from Vibra-TITE. Once torqued, I used a black fingernail polish and I painted the edges of the two screws to the body of the optic, let it dry, and then painted a witness mark on both screws with an opposing color paint so I would know if the threads start backing out and prevent any temptation to try and tighten them up and thereby ruin the thread lock job that I did!
Witness marks – use them
This installation allows a no-plate installation which creates a nice and low in the slide situation, allowing you to use stock height iron sights for a backup.
Now let this all dry for 24-hours minimum and go do some shooting with it! Be encouraged to seek out a professional trainer that can teach you how to use a pistol mounted optic correctly and learn to find the dot consistently on presentation, manipulate a pistol mounted optic slide correctly, and learn how to maintain the dot from shot to shot.