A Remodel of the Glock 17 MOS, Part 2
RECAP of Part 1
In part 1 we dug into the trigger of this Glock pistol and replaced it with a beautiful action enhancement kit from Apex. The install was almost done on the trigger with only the firing pin safety left and we ran into a problem on the slide.
SCREW LENGTH MATTERS & GO EASY ON THE LUBE
When you install an optic on an MOS Glock you must be careful about screw length. The MOS plates are not perfect by any stretch of the imagination and I cannot even begin to endorse them. Glock came up with a solution to accommodate a bunch of different optics with different footprints. This resulted in a flat plate that leaves gaps front and rear and limited thread engagement when you install the RDS. It was great to get the game going but we have better players for plates now.
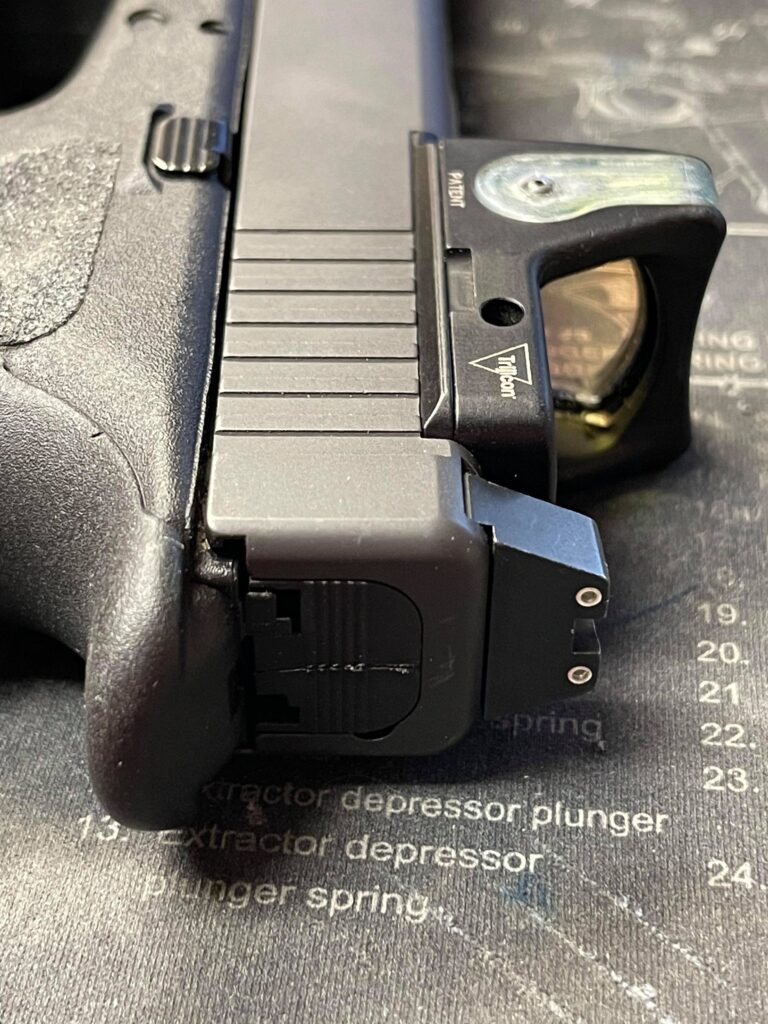
If you install the MOS plate on your Glock pistol but do not use the sealing plate, the screws are going to protrude into your extractor depressor plunger channel and pinch it! If that is what you choose to do, as a friend of mine said the other day, be ready to do some basic dude stuff and shorten the length of the screws. If you do not fix this issue, you are setting you and your gun up for failure.
If you install with the MOS plate you are going to have extremely limited thread engagement that sets it up for eventual failure, you might end up with pirate eye. If it is a safe queen and you are never going to fight with the gun but just gently shoot it occasionally, then I guess it will work. If your pistol is a tool and you want to depend on it like your life is on the line, just buy the mounting plate from C&H Precision that fits your gun and your optic.
Anyway, the set-up that we were working with had a screw sticking into the channel and we eventually discovered a quantity of thread lock in the channel that had the plunger stuck as well. It was basically glued in-place. That is bad.
It took some finagling to get the plunger loose and the firing pin safety removed but eventually I conquered it.
With the plunger out of the way, I removed the extractor and firing pin safety to replace the firing pin safety with the Apex provided one.
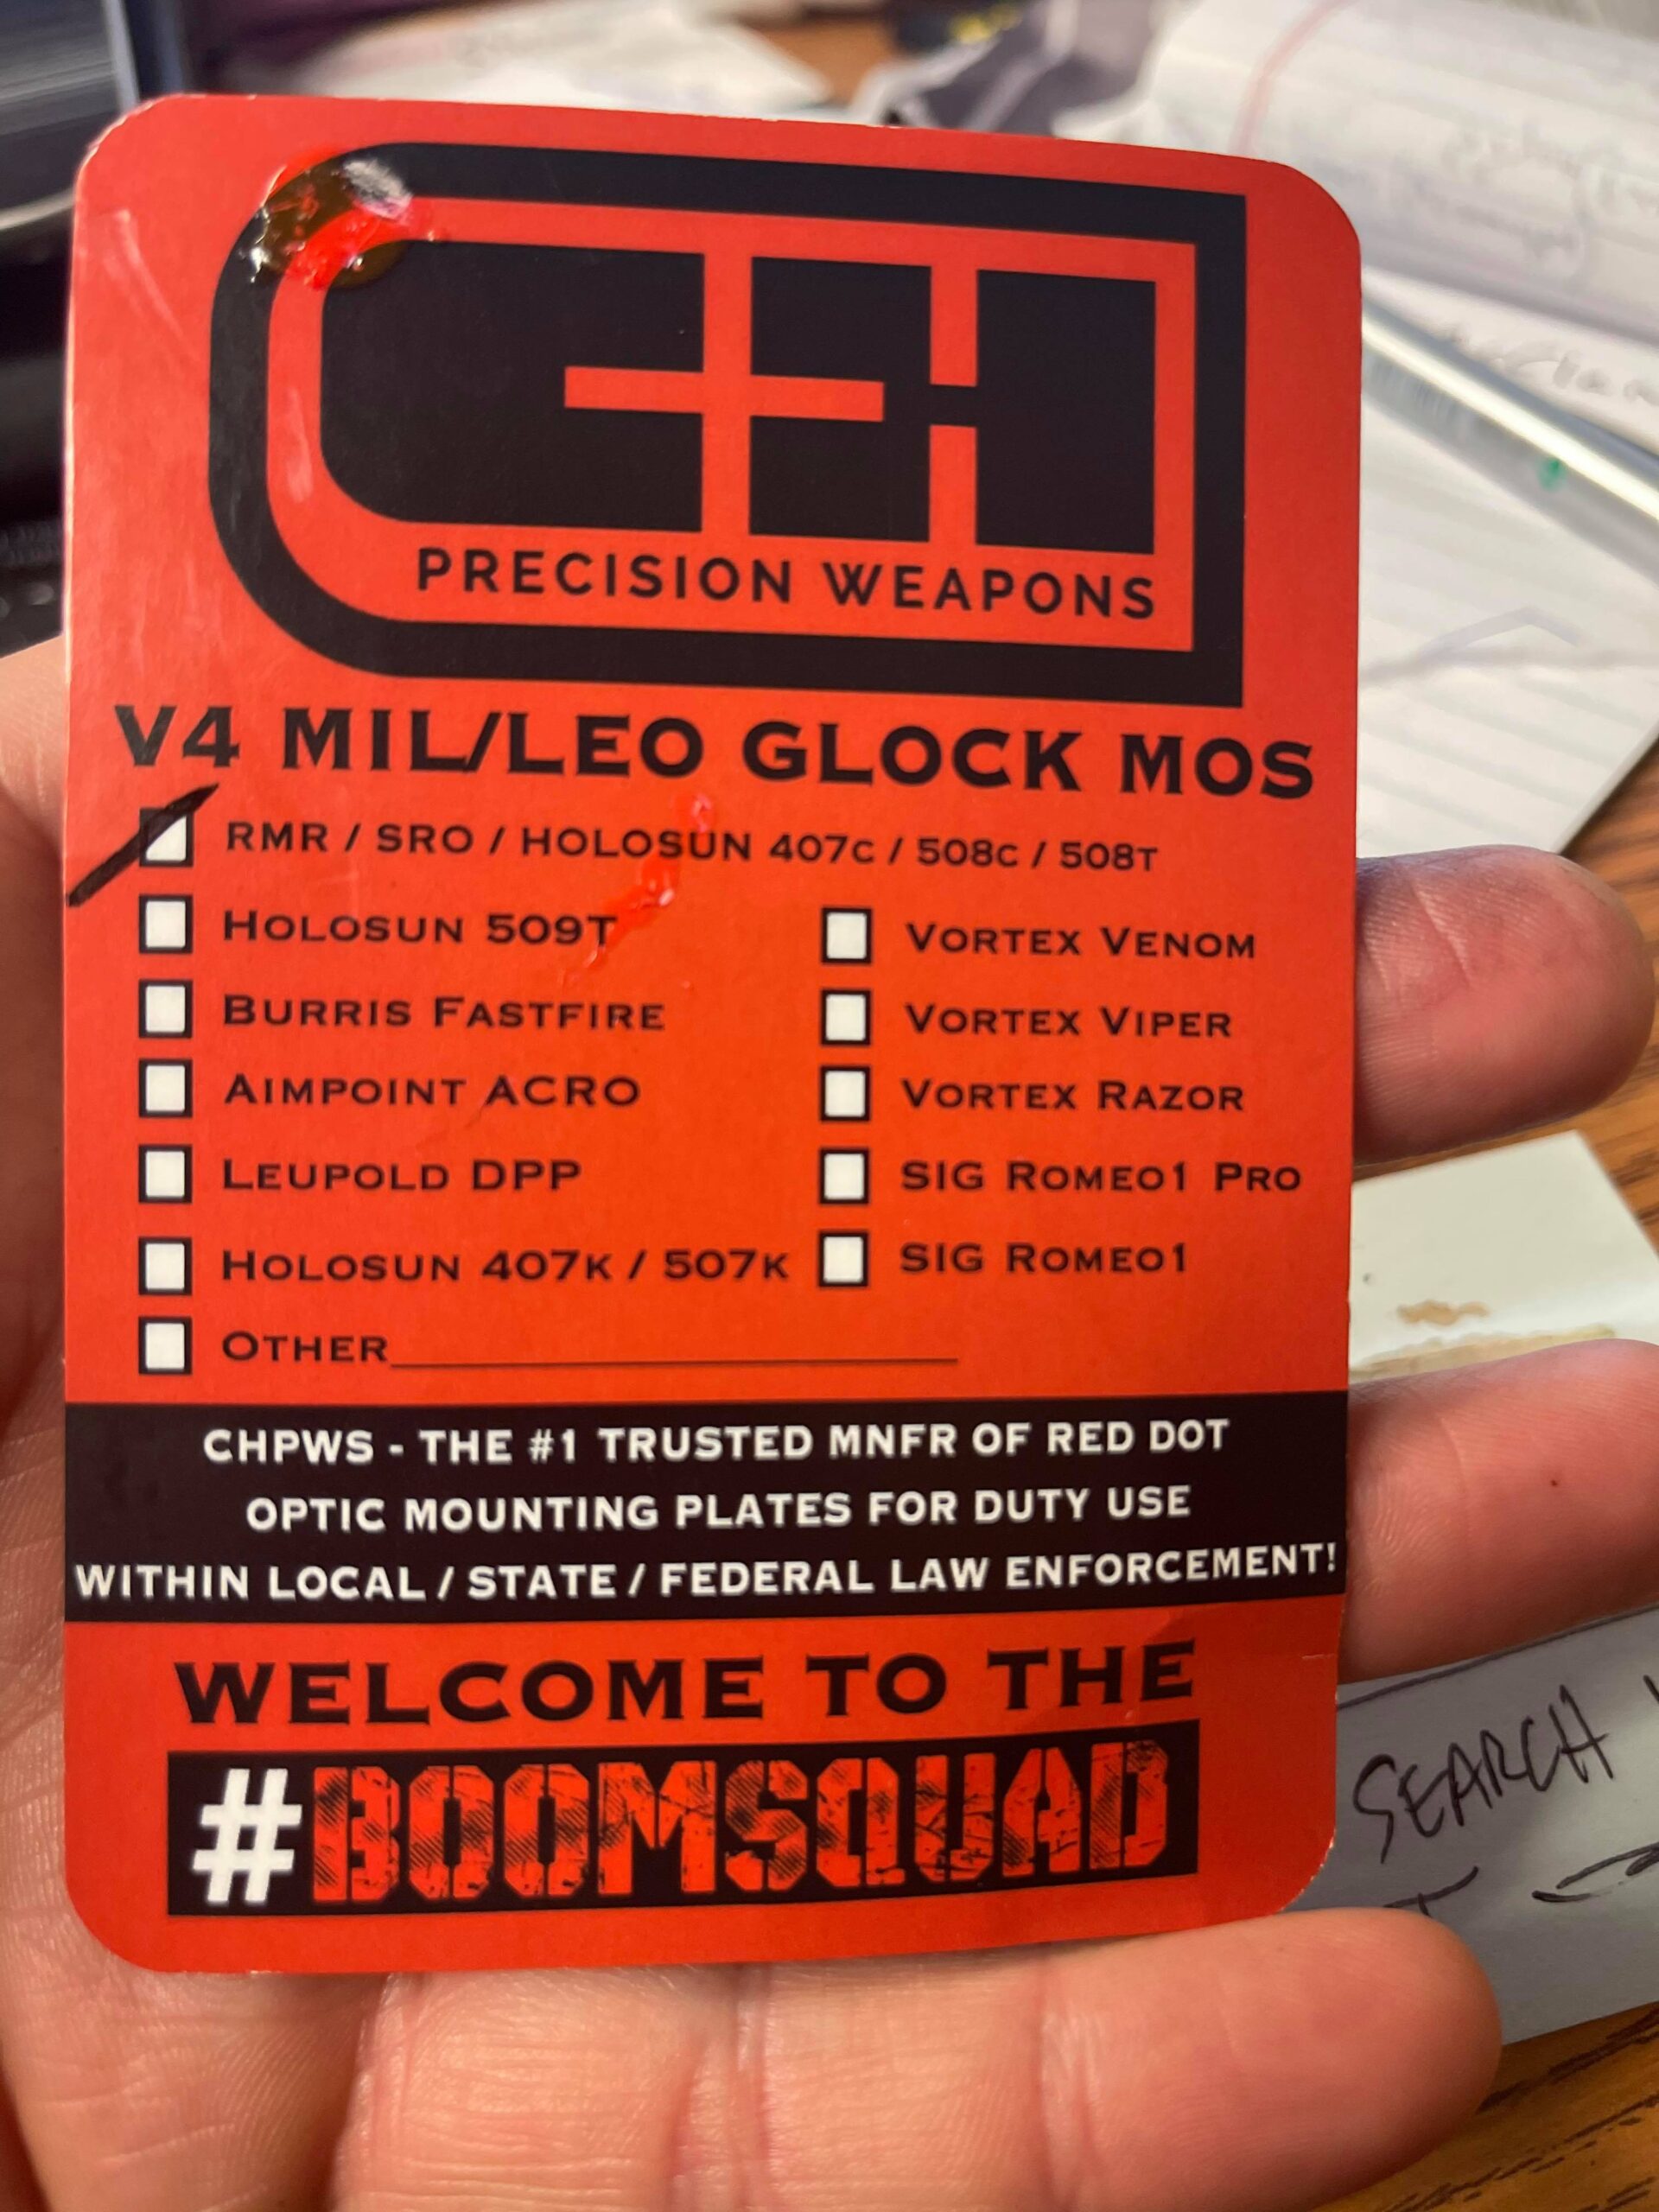
C&H Precision V4 Mounting Plate
Twice the thread engagement and a snug precise fit from C&H Precision for the win. Follow the provided instructions from C&H. Beau and Buck know what they are doing when it comes to doing this and they impart this wisdom with a small card in the packaging for you to read and follow!
The C&H Precision plate, as I have said before in other articles, is what Glock should move to for all installations! I have been asked before, “what’s wrong with the MOS plates?” Lots of answers could come out of my mouth right here that would sound rude but here are my simple observations. The MOS plates do not even lay flat most of the time, they are warped. The MOS plates do not extend to the edge of the optic, therefore you are supposed to add a sealing plate with a Trijicon RMR. The MOS plates leave large gaps front and rear that are not only ugly to look at but also do not provide any strength to the optic for impact from the side. The MOS plates have very minimal thread engagement.
Here is what is great about the C&H mounting plates without getting all technical. It is a precise fit both front and rear. The plate is truly flat and sets perfectly on the pistol. The screws for mounting your optic are smaller (that is a good thing) and the plate has extra locating pins with those screws, making the thread engagement twice as much! The plate flares out with smooth edges and covers all of the RDS base, so you don’t need that silly extra plate. The C&H Plate locks your optic onto your gun making it very robust and dare I say more attractive to look at.
When you mount the plate onto the pistol, be sure to use medium strength thread lock! A little dab will do ya, you do not need or want to pipe it on like cake frosting. Let it set on the screw for a bit to get good and tacky like your uncle Bob and then screw it in. Do not over tighten the screws. Use a torque driver and follow the manufactures recommendations. It will be inch pounds! I use my driver from Real Avid and love it.
Place your optic on the plate and marvel in the wonder of how perfectly it sets in place. Once you have recovered from the beauty, repeat the process with the thread locker and the correct screws (brightly and obviously marked on the baggies).
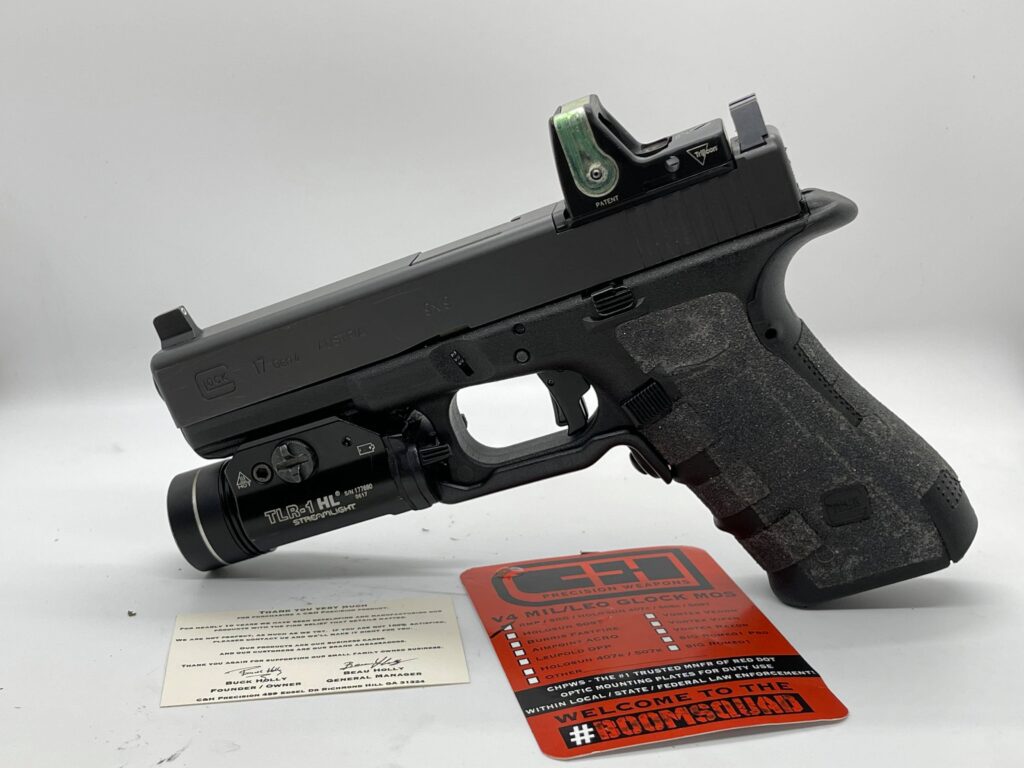
Again, set the screws with a torque driver to the correct inch-pounds and let it dry. After doing this, make a witness mark with a paint pen or your secretly stashed fingernail polish. Do the witness mark thing and save yourself the drama of wondering if the screws are still tight. Do not be that person that questions the tightness and grabs a driver to tighten them some more and then wonders why it comes loose 200 rounds later (you broke the thread locker loose, dude.)
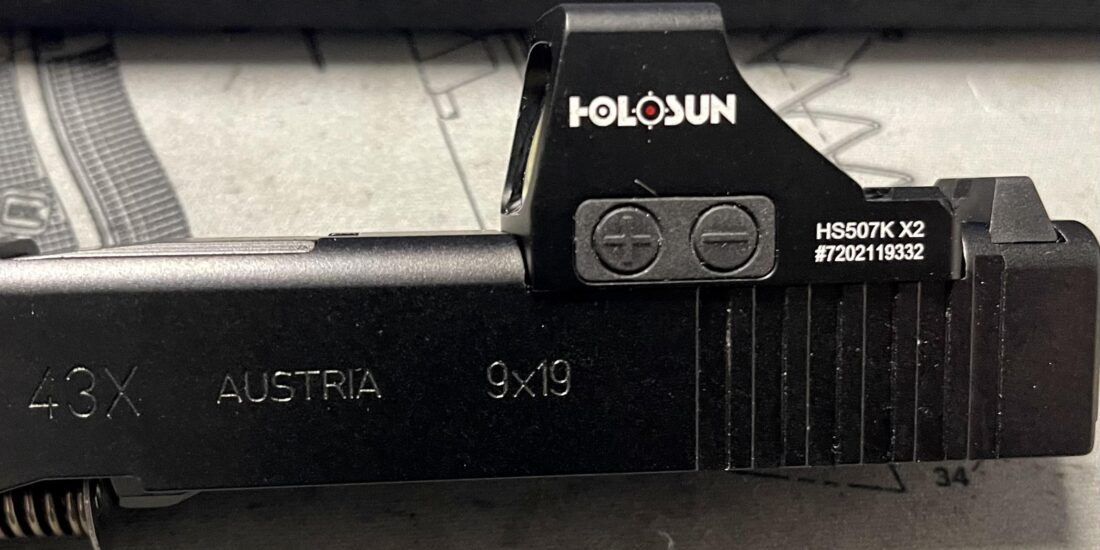
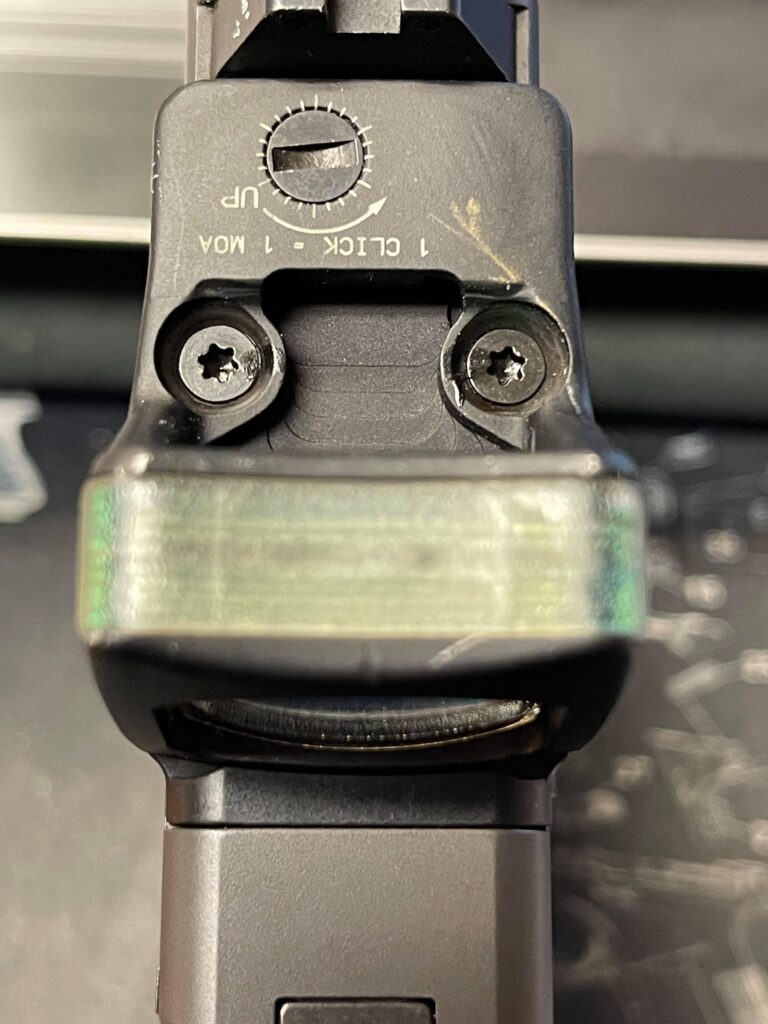
Zero the Optic
Everyone has their own way of zeroing a red dot sight. When available, I would use a Ransom Rest to accomplish this task, but one isn’t always available to me. I have also just shot precision groups at 15 yards and moved the dot until it was on but ammunition is too expensive to mess with that technique. My option that works well for me is a laser bore sight to get me started. I measure off 45 feet and, using the laser bore sight, move the RDS dot until the laser dot and it align perfectly. I then verify the adjustment with live fire on the range at 45 feet and at 100 yards.