Time for an Upgrade: Mounting a 2nd Axis Sight
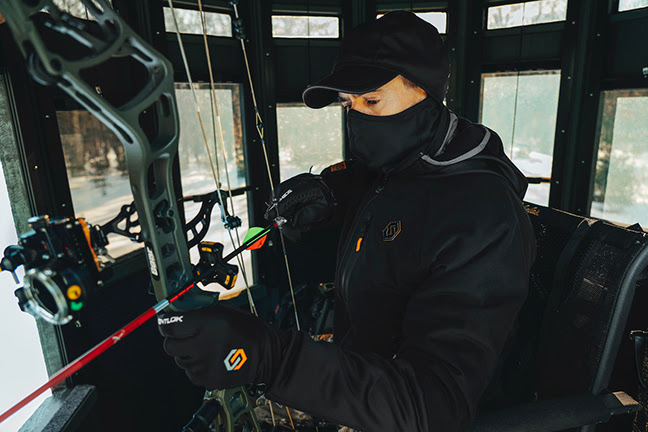
With one more season done, it’s time to get ready for next year. I decided to treat myself to a new sight. I was long overdue for an upgrade, even though my old sight has been a champ over the past few years. I wanted a sight with smaller pins and 2nd axis adjustment. After weeks of research and dropping different options in my cart, letting them sit until I finally pulled the trigger! Now, it is time for the install.
Tools needed:
- Allen keys
- Bow vise
- Levels
Once you have gathered all the tools needed it is time to get started, set you vise up, and secure your bow. Begin by removing the old sight, taking off any quiver mounts, set them aside for mounting to the new sight later. Remove the old sight with the correct size Allen key mine uses a 1/8 inch Allen key. With the sight removed, I like to clean the riser. I use a gentle scent-free soap made for scent control. After the riser has been thoroughly cleaned and given plenty of time to dry, it is time to mount the new sight. I do not recommend using any thread locker; it can gum up the riser and react with plastics causing them to weaken over time.
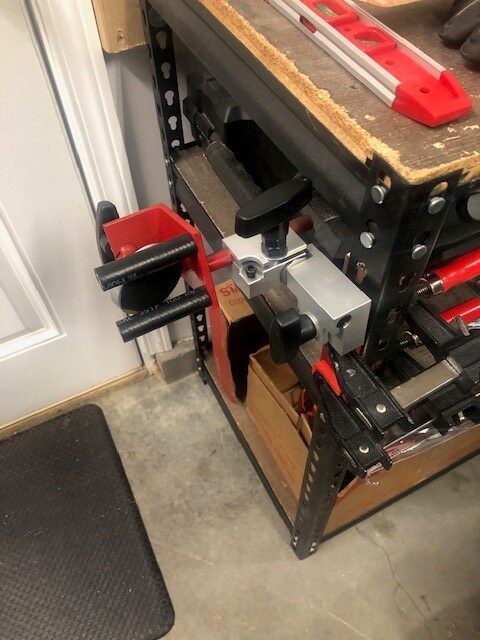
Image by: Matt Umstead
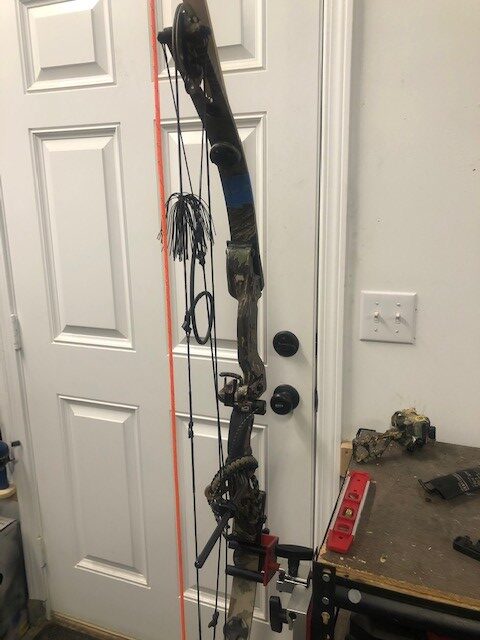
Image by: Matt Umstead
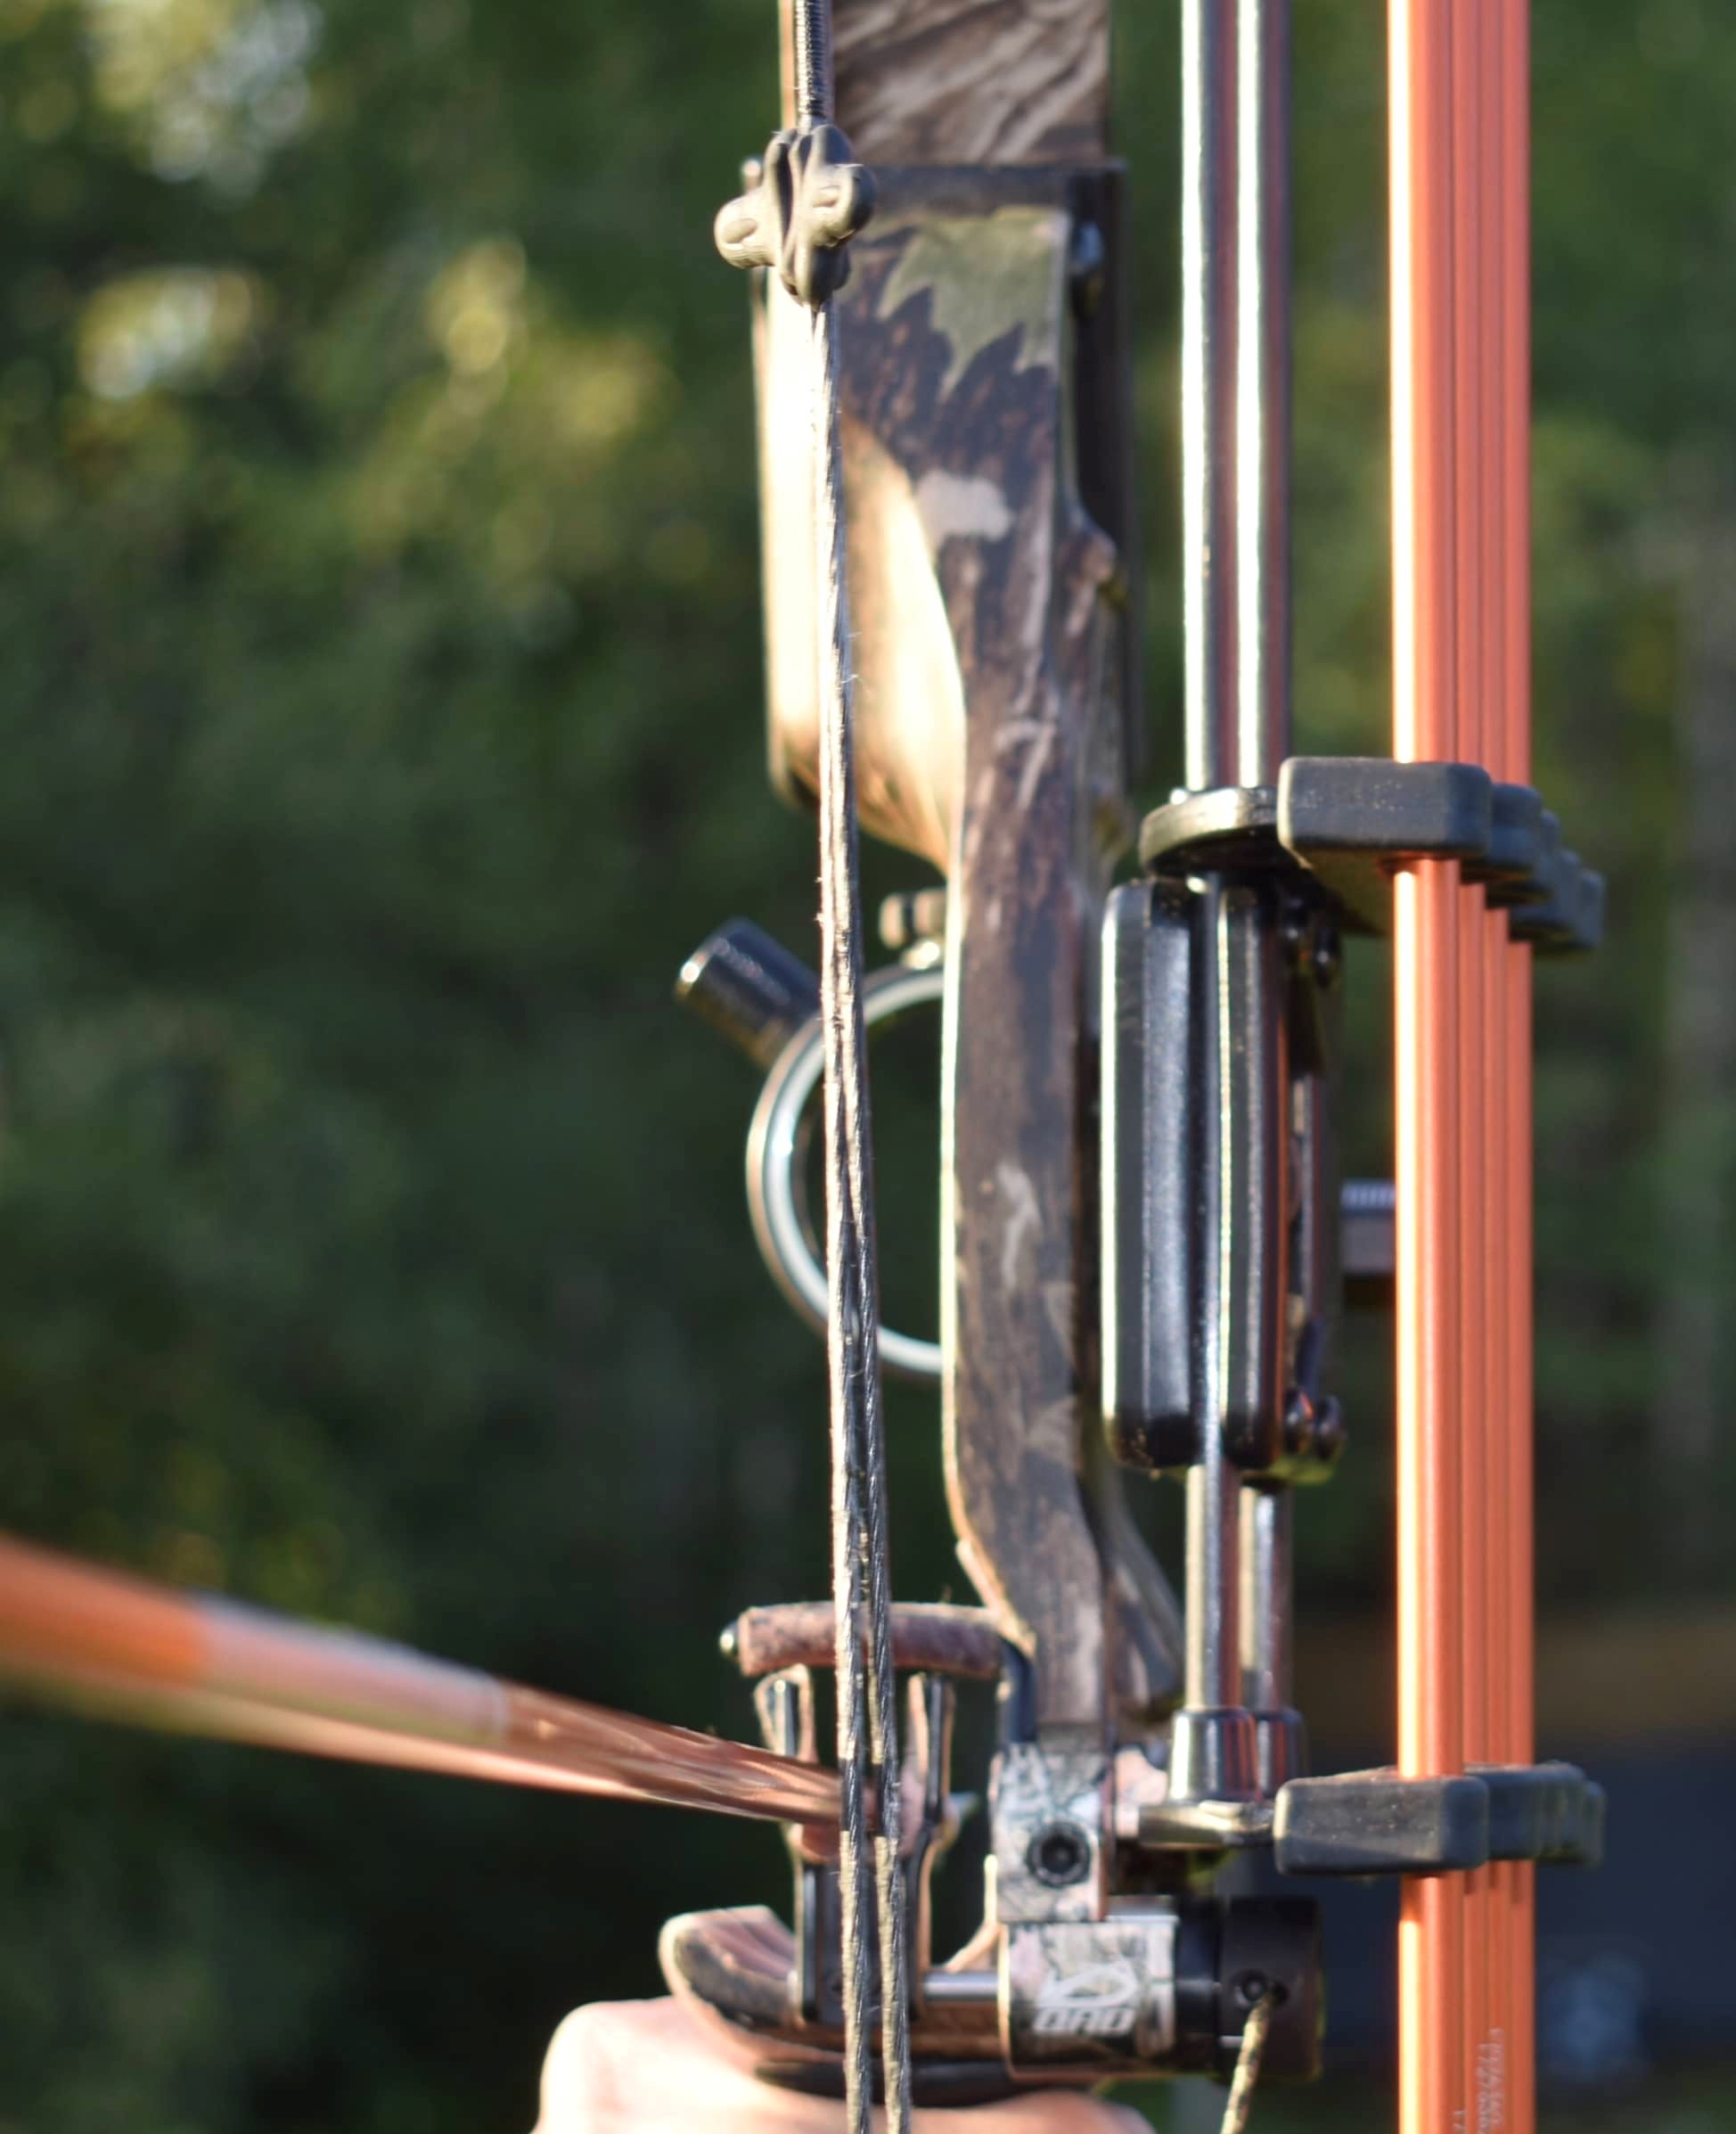
You are setting the bow up for mounting the new sight. You want your bow to be plumb. I use a couple different levels to ensure its perfectly plumb a 6 inch carpenters and a plumb bob. The sight can be mounted before or after leveling your bow. I like making my 2nd axis adjustment with the sight mounted to my bow. If you are installing a sight with 3rd axis adjustments, I would highly recommend investing in a 3rd axis leveling tool or take it to your local pro shop.
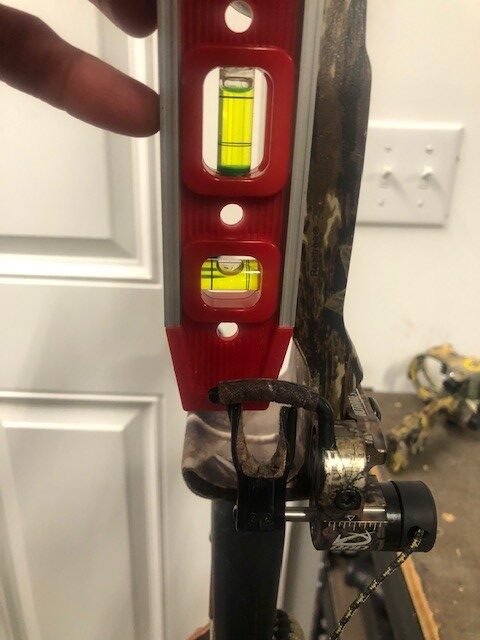
Image by: Matt Umstead
When I mount the sight to the riser, I generally use the farthest mounting point; it is just personal preference. I like the longer sight radius. Once the sight is snugged down, it is time to reattach your quiver mount if you have one.
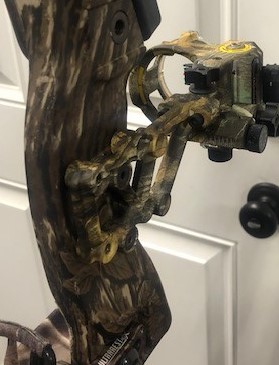
Image by: Matt Umstead
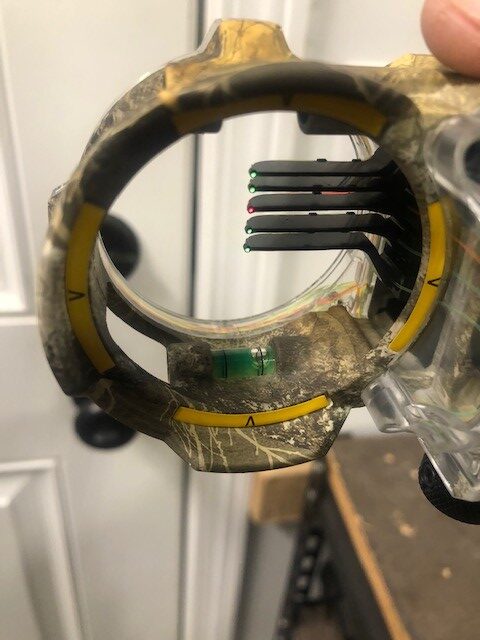
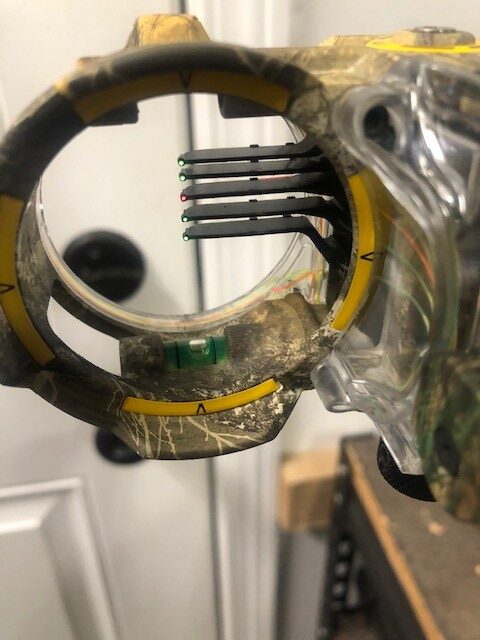
Alright, bows plumb, and your sight is mounted and snugged up. It is time to check to your 2nd axis level if your sight is equipped with this adjustment. This is the critical part, check and double-check your riser to ensure it is completely level. I also use a plumb bob to reference the riser off the string and cams. This is when having a bow vise comes in handy, allowing the bow to behold perfectly stable while you level your sight. If your sight is not perfectly leveled to your bow, your shoots will drift diagonally as you increase your range; regardless of the design of your site, single or multiple pin.
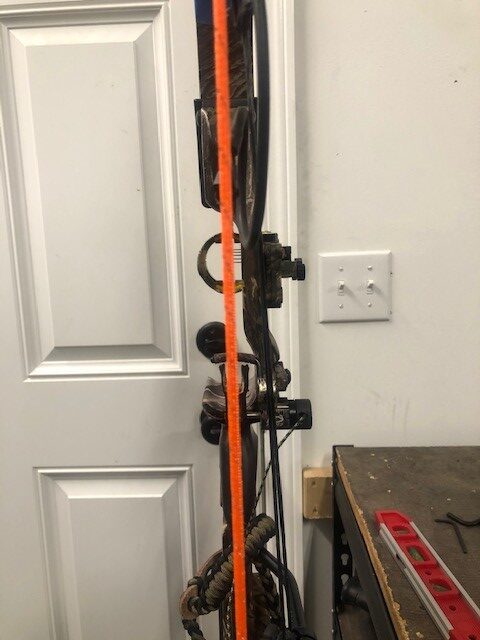
Image by: Matt Umstead
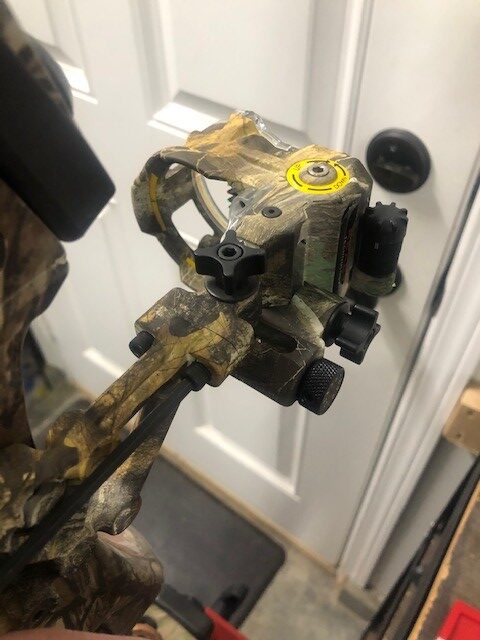
Between the pins and mounting point, the sight I purchased has two bolts to loosen the second axis. Once loosened, you can level the pins and re-tighten the bolts. Check all bolts, ensuring they are snugged down; check all your levels, riser, string, and sight. Finish your installation with mounting your quiver if equipped.
Images by: Matt Umstead
With a few tools, if you are a compound bow shooter you should already have on hand in your archery field repair kit. You can find a bow vise online for the price of a single trip to most local pro shops. Investing in the right tools makes the job a lot easier and eliminates the frustrations in trying to jerry-rig tools or damaging something, significantly increasing the initial repair cost; I’ve made this mistake more than once. My personal preference is to learn how to install and fix my equipment. With the right tools installing a new sight for your bow is an easy task to take on. Once the weather warms up I will head out and sight in the pins.