Get A Grip! It’s Where the Good Shooting Starts
by Kevin Michalowski
If you are taking the way you grip your pistol for granted, your shooting will suffer. If your shooting suffers at the wrong time, the rest of you will suffer.
A proper grip gives you the best possible control of your pistol when you need it most—as you bring it to your target and prepare to fire. An improper grip can cause everything from just plain bad shooting, to a malfunction, to a nasty injury, typically imparted on a thumb you’ve put in the wrong place. A good grip is the foundation of good shooting. You’ve got to get it right.
Where It Starts
A good grip begins with the gun in the holster. Think about it. Most self-defense situations will require you to draw from concealment. You don’t learn about acquiring a good grip by standing on the firing line and adjusting everything until it is just perfect. You need to train like you would fight. So start from the holster. First clear your concealment garment, then get to your gun. Do it slow for practice. Remember, this is just about the grip. All the other elements of good marksmanship and sound tactics must also apply when you make the decision to go for your gun.
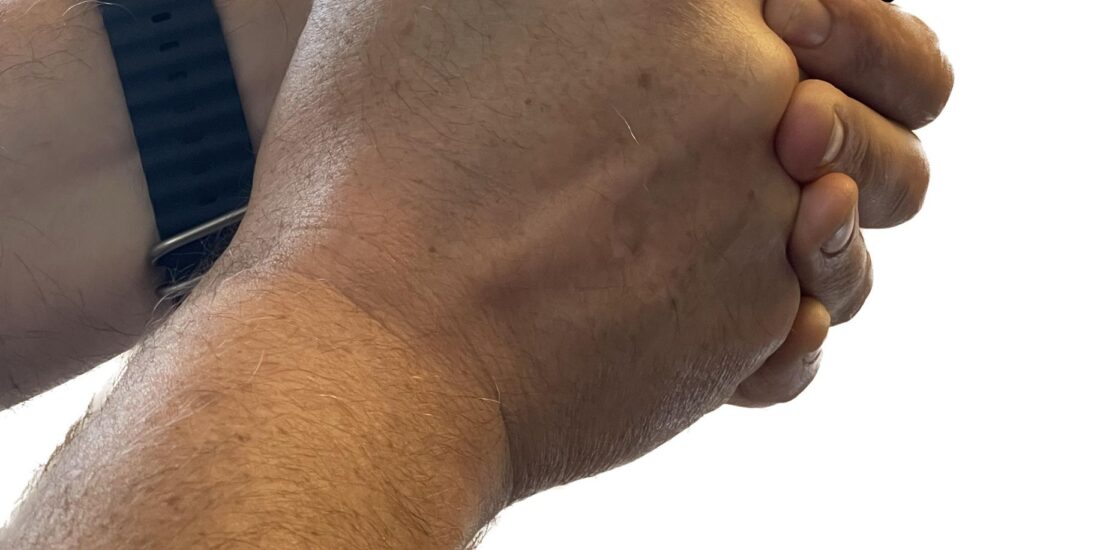
Step 1: Get the web of your hand high up into the tang and wrap your lower fingers around the grip frame. At this point, the back strap should be in line with your wrist and forearm, and your trigger finger should be indexed outside the holster in what will be the ready position; that is up and out of the trigger guard, along the frame. Your firing hand thumb is high, in position to operate the safety.
Your draw stroke should pull the pistol straight up and out of the holster and immediately rotate the muzzle forward, typically toward the threat. Your support hand, which was positioned at the center of your body, will be approaching your gun hand as you make this movement.
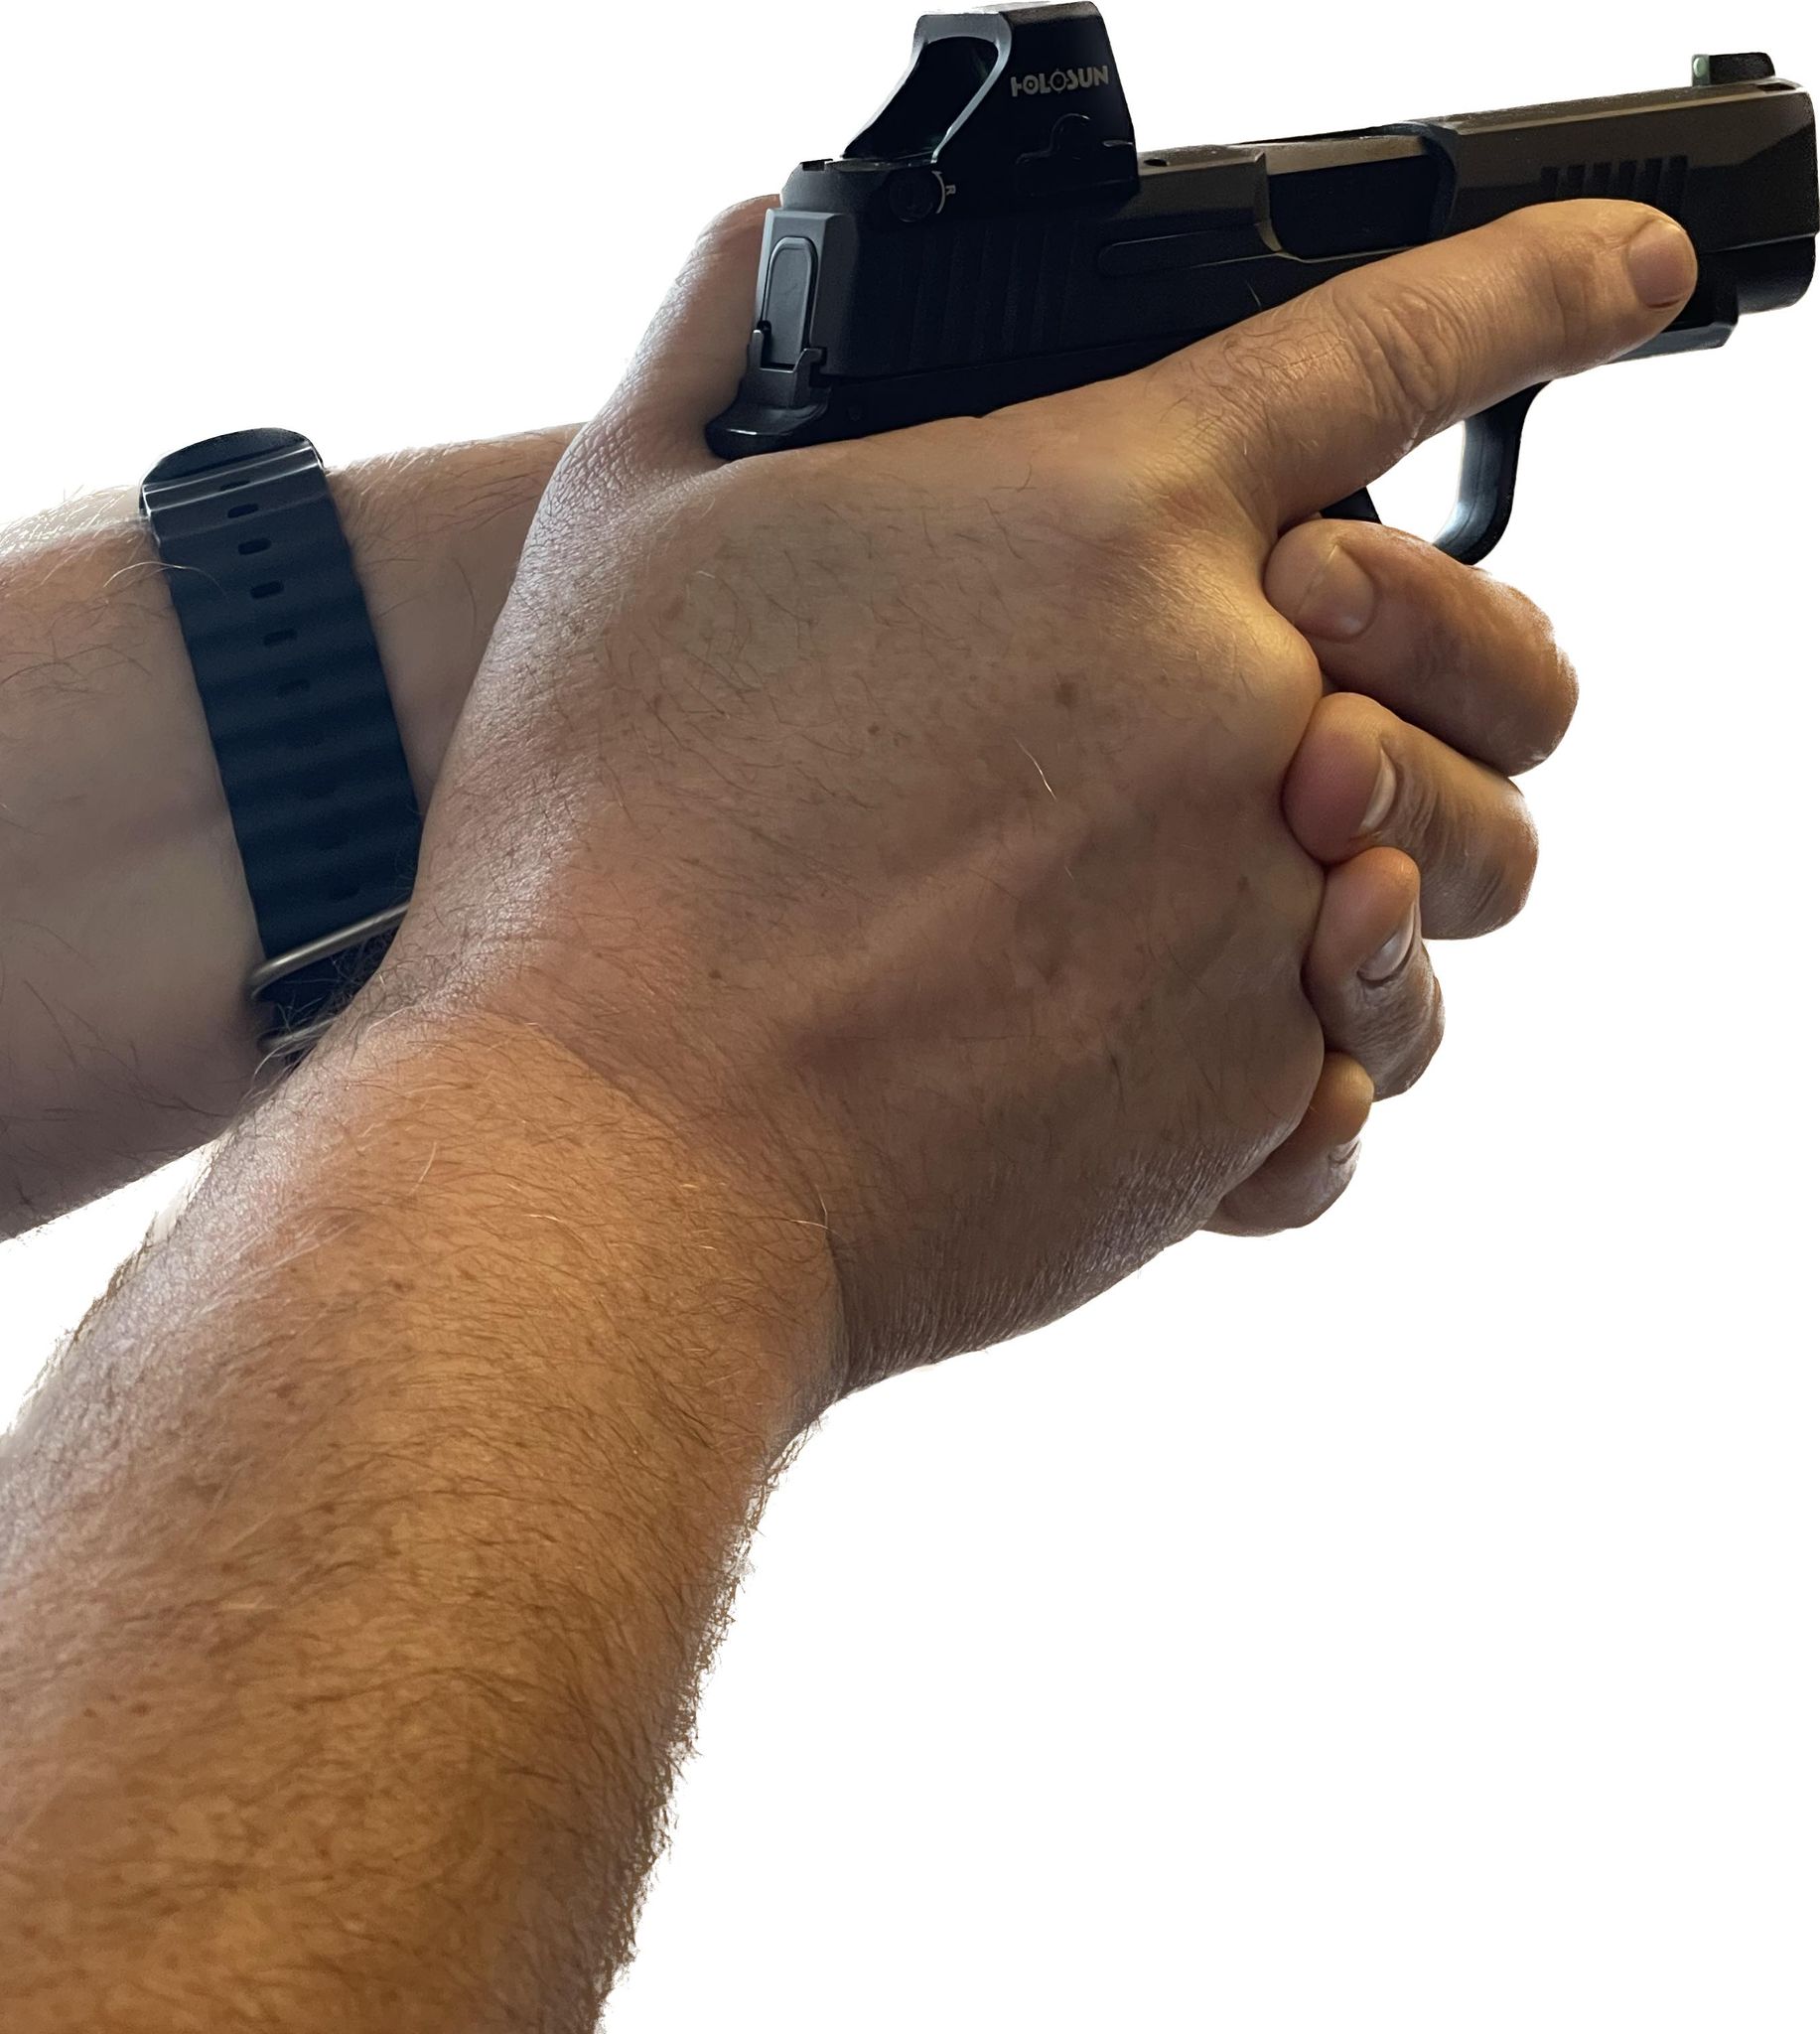
Step 2: The index finger of your support hand should come in directly under the trigger guard and cover the middle finger of your firing hand, with the remaining fingers of your support hand covering the remaining fingers of your firing hand. Get your fingers together as you begin to extend your arms to the firing position.
Step 3: The heel of your support hand should contact the grip panel on the off-side of the pistol and both thumbs should be pointed forward. This allows for the strongest part of your hands to be in contact with as much of the pistol as possible. It also allows you to easily operate the slide release, safety and magazine release if you need to.
Step 4: Pressure around the grip frame and panels should be equal, providing what some instructors call 100 percent harmony, as you grip the pistol.
Step 5: When you have made the conscious decision to fire, move your finger into position with the first joint of your finger across the trigger and smoothly squeeze to fire the shot. (The term “squeeze” might be an issue for some shooters who’ve been involved in training telling them to “press” the trigger or “roll” through to break the shot. The key element is that you do not jerk the sights off target. You may squeeze, press, roll or whatever, as long as the sights remain on target throughout the movement.)
Your speed will improve with practice. Dry practice in a safe location is an inexpensive way to work on establishing the perfect grip. Repetition will build the skill, and you should work slowly at first, to insure that every step is done correctly.
The goal is, of course, to maintain a firm and consistent grip throughout the firing sequence and on through any follow-up shots. You don’t want to be adjusting your grip in the middle of a string of fire, or worse yet, in the middle of a fight.
Changes You Can Make
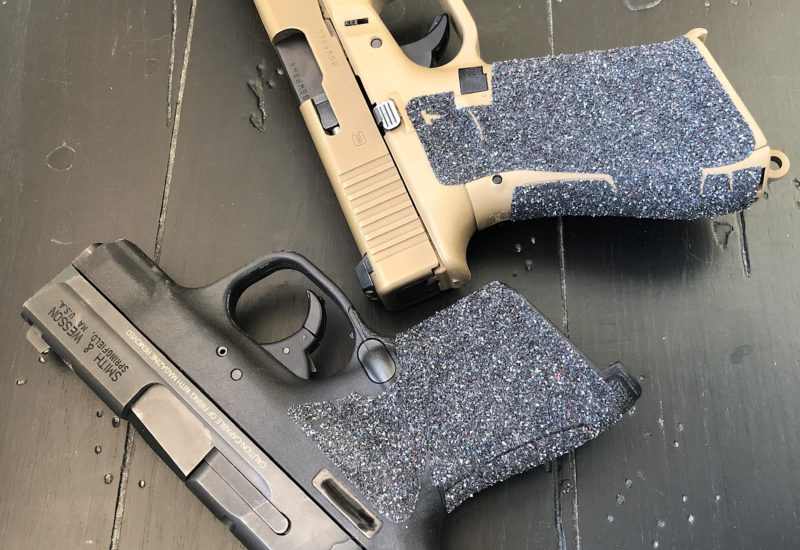
If, for any reason, your gun doesn’t seem to fit your hand, you need to make changes before you consider relying on that gun for self-defense in a sticky situation. Just because you can “make it work” at the range, it does not mean you’ll be able to put rounds on target under the stress of a real fight.
Many shooters suffer with a trigger reach that is just too long. The old mantra of putting just the pad of your first digit on the trigger is fine for target shooting, but it’s not very practical when things get fast and furious. Gun makers have offered up all kinds of options from replacement triggers, to replaceable back straps, to aftermarket grips to insure that shooters’ hands are where they need to be. Take advantage of any or all of these to insure that your grip is as solid as it can be when your gun leaves the holster. The grip should not only “feel good,” you should be able to fully engage as much of both of your hands as possible.
The reasoning behind such a grip is simple gun control. You’ve all see the various other “grips” shooters sometimes use. I won’t even illustrate them here out of fear that some people might think they look cool enough to try. None of them provide the power and control of the thumbs-forward style described above.
The grip is one of the primary elements of good marksmanship. You can very rarely make a good shot when starting with a bad grip. And remember, only hits count.
Kevin Michalowski is an NRA certified, pistol and personal protection trainer and a member of the Waupaca, (Wisconsin) Sheriff’s Department Reserve.