A BEGINNER’S GUIDE TO BUILDING AN AR15 PART 6
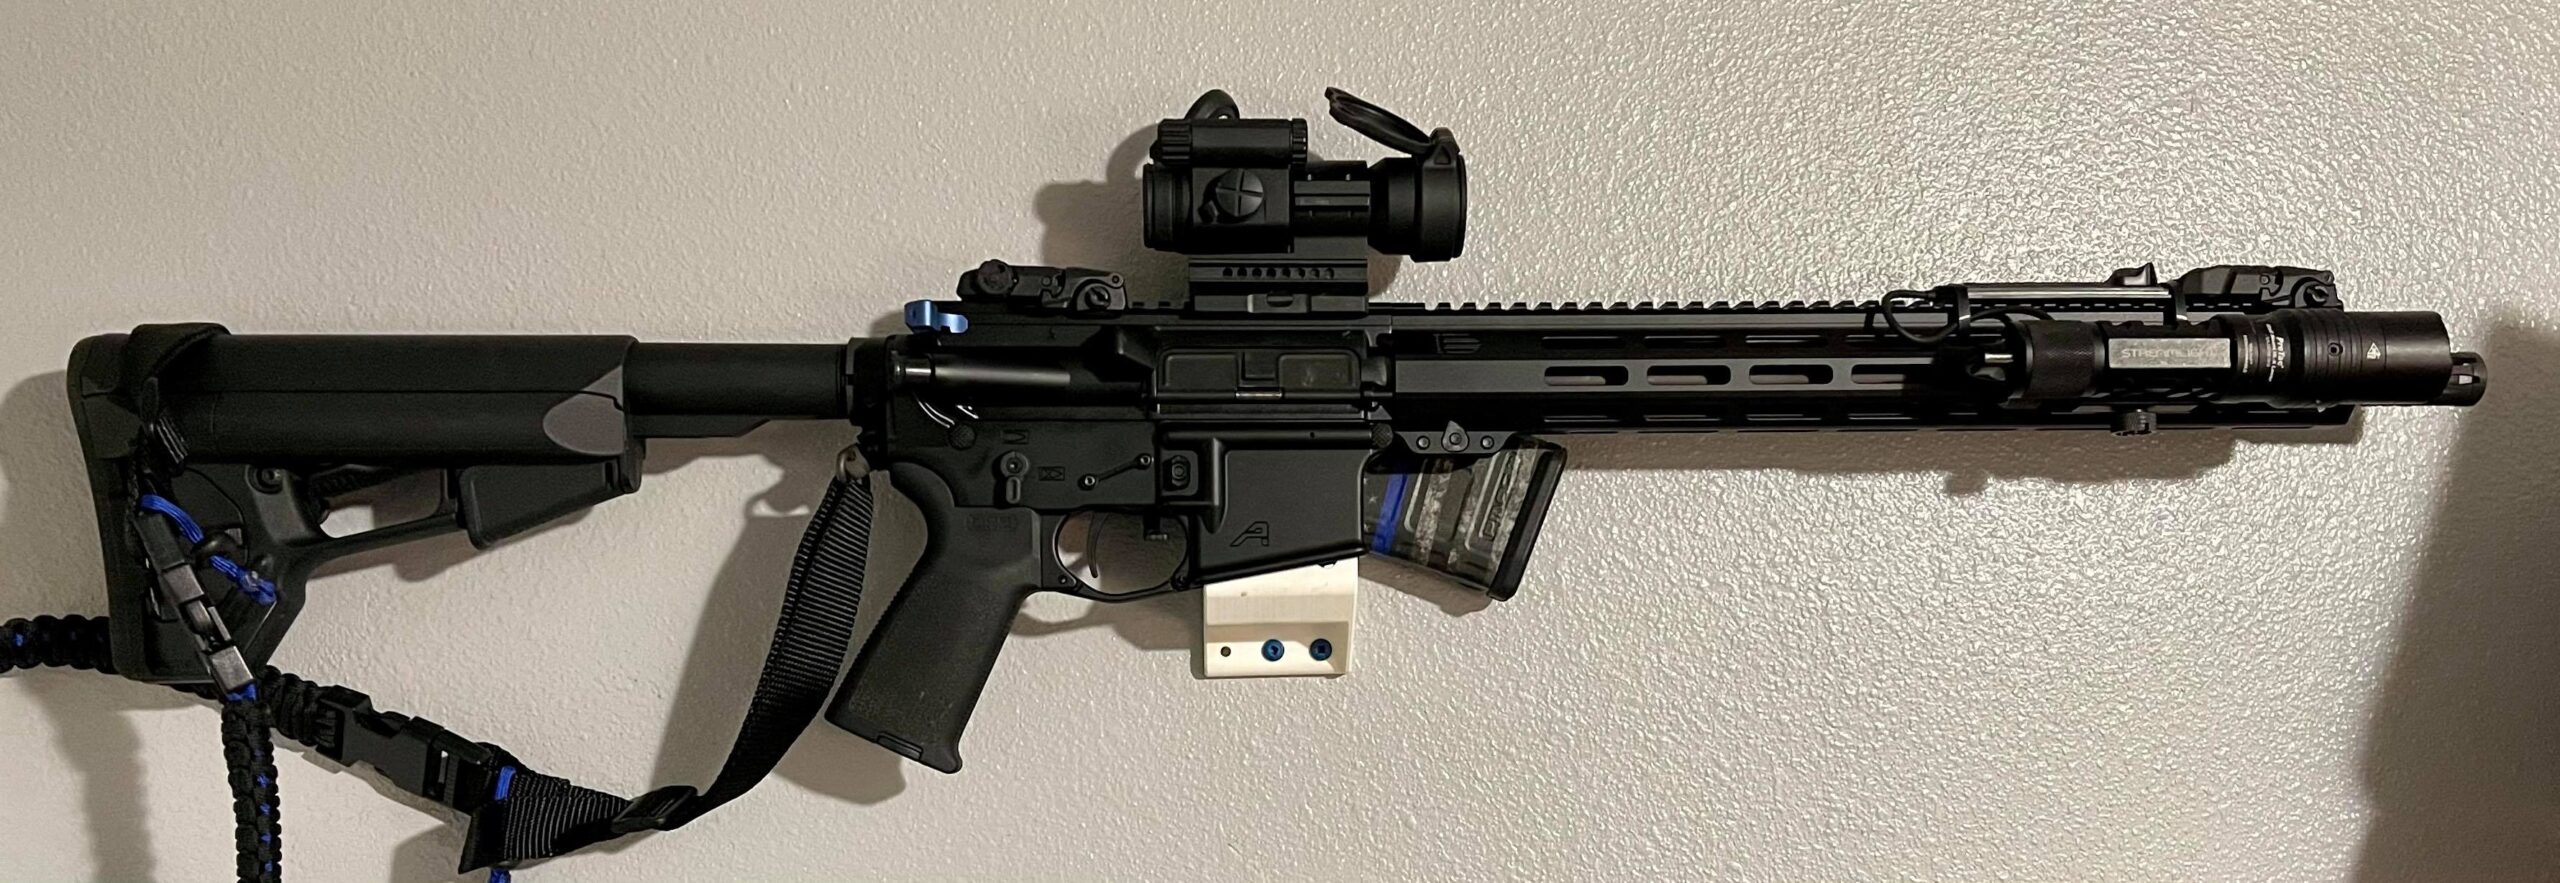
The Lower Receiver
Now we are going to go ahead and assemble the lower assembly. Start out with the trigger guard if you have a lower that does not have one milled in place. You are going to need a bench block, the trigger guard, roll pin, and a tiny screw that should have come with your trigger guard.
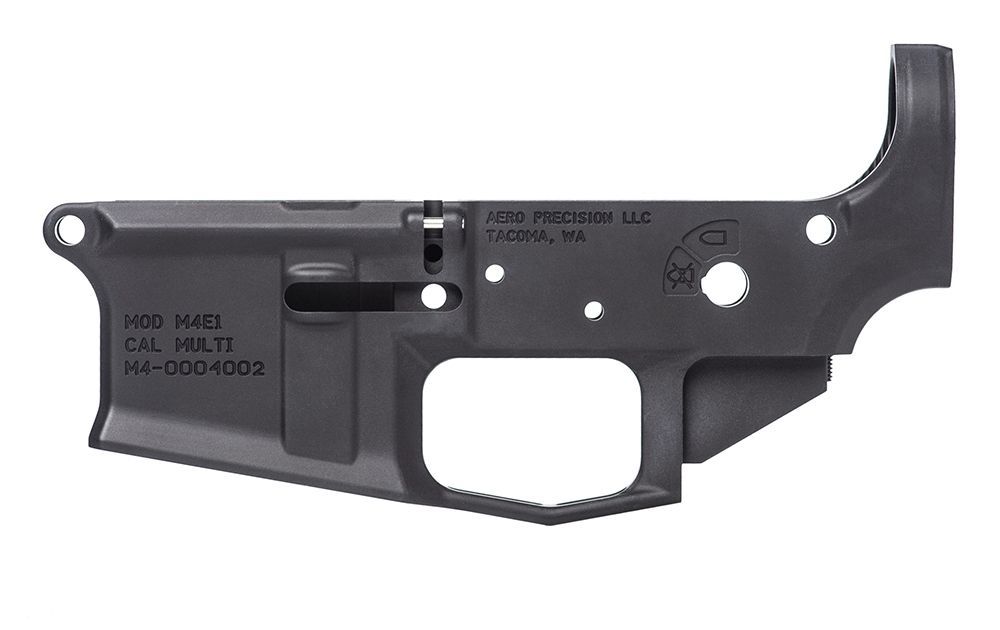
You will need the 1/16 Allen wrench, roll pin punch, and your hammer to install the trigger guard.
With your lower placed on your bench block, set the screw (magazine end of the lower) in place and thread it into your trigger guard. Pivot the guard into place and start your roll pin with a roll pin punch and then finish tapping it in place, making sure you have the holes aligned. Tidy it up so that it is seated flush on both sides.
Next you should install the magazine catch. I am a fan of ambidextrous components, but you should have decided that with your parts a while ago.
You will need the magazine catch; magazine catch button and the spring.
Slide the magazine catch in from the left side of the lower, slide the spring onto it, and then put pressure on the magazine catch so you can thread the catch on with the smooth side down. Once you have the catch started, push the catch into the lower with a roll pin punch so that the magazine catch protrudes out of the left side and rotate it until the post of the catch becomes flush to the button. Line it up and lower it into place. Check it for correct function with an empty magazine. Make sure that it seats easily and releases.
Next move on to the pivot pin. The pivot pin can be one of the most difficult items to install if you do not use a tool like that made by Real Avid. You can use a clevis pin or the like to do it, but I highly recommend Real Avid’s detent installation tool.
You are going to need to place your lower facing up on your magazine block. Lower in the spring then the detent. While retaining the spring and detent down in the lower, slide your pivot pin in until you hear it click into place and it is installed. If you do not use the installation tool, do this job inside of a clear plastic garbage bag so you do not lose your components!
Installation of the bolt catch can set you up for failure in damaging the finish of your lower. Tape off the areas surrounding your lower with blue painters’ tape to save yourself the drama.
Take the bolt catch, the bolt catch roll pin and the bolt catch buffer and spring. I take the roll pin and lightly start it into place with my roll pin punch. Do not insert this in too far or you will have to get creative with a standard screwdriver to get it worked back and hopefully not damage anything.
Drop the bolt catch spring in and then the buffer on top of it with the rounded blunt nose end sticking up. Place your bolt catch down into the notch and place a finger over it. Press down until it lines up with the hole. I have found it helpful to place a small roll pin punch in on the opposite side to achieve alignment. I then drive the roll pin down to flush with my roll pin punch and take over the task with a nylon punch or a brass punch until the roll pin is flush. Take care while tapping the roll pin for the bolt catch into place or you will mar the finish of your lower.
Once the roll pin is installed and seated flush remove your tape and add a drop of oil to the channel.


