🧐 Stop Guessing, Start Seeing: How to Master the Art of Observing Your Students
As a firearms instructor, you’re not just teaching mechanics; you’re coaching performance. We’ve all been there: a dedicated student is struggling to meet a standard, and you’re cycling through basic corrections—“Focus on the front sight,” “Press the trigger,” “Stance check!”—only to see the same frustrating results.
The solution isn’t teaching harder; it’s observing smarter.
Drawing from established principles used in elite sports coaching, here is a breakdown of how to fundamentally change the way you observe and diagnose a shooter’s performance, turning you into a true master diagnostician on the range.
Adopt the Multi-Viewpoint Mandate (The “Cross-Reference”)
In traditional sports, a coach watches the athlete from the front, side, and rear to get a complete picture. On the range, this is crucial—and safer—when observing a shooter and their “shooting platform”.
- Don’t Settle for One Angle: Standing only at the firing line or slightly to the rear will hide crucial technical flaws.
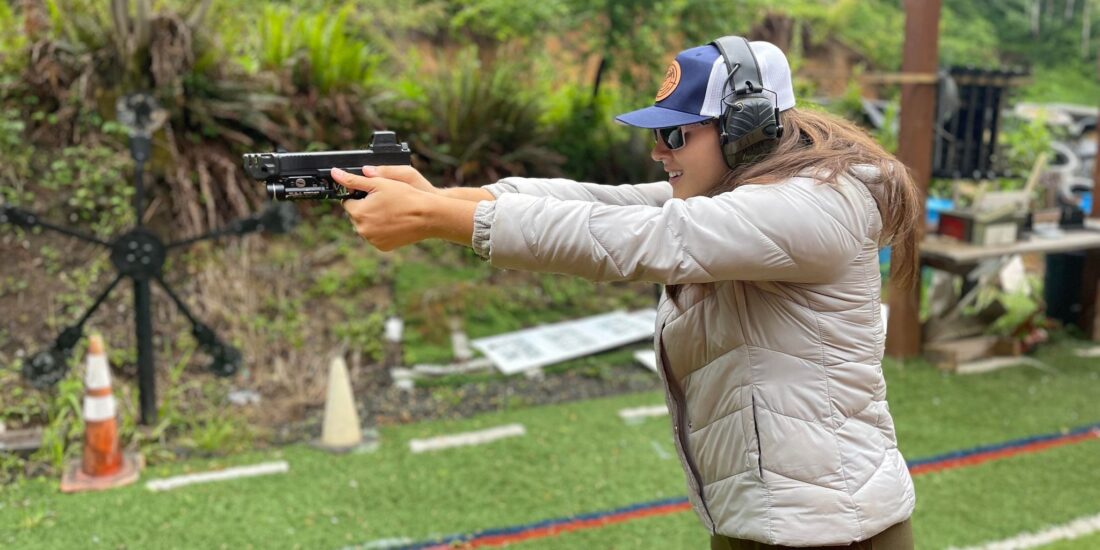
- The Side View is Your Best Friend: Observing from the direct side reveals almost all errors related to the grip, wrist alignment, and trigger finger placement. It clearly shows a “breaking” wrist on recoil or the common pre-ignition push while pressing (the “muzzle dip”).
- The Rear View (The Alignment Check): This view reveals head position, shoulder tension, and structural alignment. Crucially, this angle helps you see if the shooter is aligning the firearm correctly with their dominant eye or if they are performing the common “head turn” to align with their non-dominant eye. Are they struggling with ego center—where the shooter defaults to their head position instead of the sights?
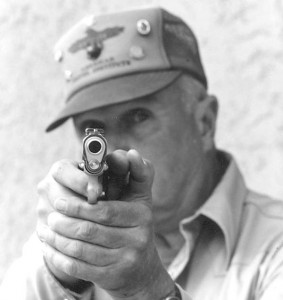
- The Forward View (The Mental Check): To diagnose mental anticipation or stance instability, you need a view of the shooter’s face and structural foundation. An instructor can safely stand in front of the firing line—to the side and rear of the target—as long as they are never in front of the muzzle. This forward-side position is invaluable for:
-
- Observing Facial Cues: Spotting the classic flinch/anticipation eye blink, squint, or subtle head movement that immediately precedes the shot.
- Vision Check: You can assess if the shooter’s foveal vision (the tiny spot of clear focus) is dedicated to the front sight/optic or if they are struggling with convergence, which can lead to vision shifting. (For more on eye dominance, see my previous article: The Traditional Dominant Eye Test is Failing You As an Instructor).
- Safety First: Absolutely never observe from in front of the muzzle. Utilize modern tools like slow-motion video on a tripod placed safely to the side to “watch” from a challenging angle without risking safety.
Observe the Full Flow, Not Just the Flaw
The sports coaching principle states: Watch the whole skill several times to capture the rhythm and flow before you home in on a specific error.
When coaching, resist the urge to immediately shout a correction the moment you see a mistake! 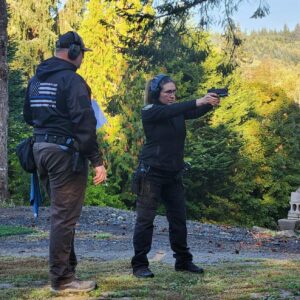
- Watch a Complete String: Have the shooter perform an entire drill or a 5-shot string at normal speed. Errors that occur at full speed (like rushing transitions or anticipating recoil) often disappear when the shooter slows down to focus on a single correction.
- Identify the Core Phase: The shooter’s performance is a process with phases: The Draw/Presentation, The Trigger Press/Compression, Recoil Management, The Reset/Transition. Which phase is the most broken? That is your starting point. You can’t fix a poor grip and a slow visual transition at the same time. Choose one priority for your student.
Listen for Clues (The Auditory Diagnosis) 👂
Observation isn’t just about what you see; it’s about what you hear. Your ears are powerful diagnostic tools.
- Shot Cadence (The Rhythm): A clean, fast, and rhythmic “bang-bang, bang-bang” shows good trigger control and vision tracking. A hesitant, ragged, or uneven “bang… bang… bang-bang” often indicates they are struggling to find the sight and are driving the gun with the trigger finger rather than letting the trigger break when the sight is aligned.
- Foot Movement/Weight Shift: Does the student shuffle their feet, over-compensate, or shift their weight before the shot? This is a physical cue that they are anticipating the loud noise and recoil (the flinch cycle) and trying to brace for it incorrectly and letting the shooting platform breakdown, we have to address the why and what’s going on with the brain.
The Power of “Normal Speed” and the Diagnostic Empty Gun
When you are diagnosing a problem, the performance must be at normal speed.
Skills performed unnaturally slow give you a false picture of what is occurring. This is why you must isolate the psychological error (anticipation/flinch) from the technical error (poor trigger press or poor shooting platform or a lack of understanding for aiming etc.).
To reveal hidden movement, you must use empty-chamber diagnostic drills where the student doesn’t know the status of the firearm:
- The 50/50 Chance Drill: The instructor sets up the gun with an empty chamber or a loaded chamber, approximately 75% of the time being an empty chamber. The loud click when the shooter expects a bang reveals movement (flinch/anticipation) that is otherwise masked by the live fire recoil.
- The Bang-Click Drill: Load one live round and remove the magazine, fire the shot, immediately re-acquire the sights, and dry fire the second shot. The reaction and movement of the second, dry-fire shot often reveals the ingrained flinch mechanism. Continue doing the drill to start relaxing the amygdala and get correct responses from the student.
- Ball and Dummy: This foundational drill works on the same principle as the 50/50 drill but requires downtime and loading that might be a challenge when working on a line of other students. Be sure to do this drill correctly, you’ll need way more clicks than bangs to be done right.
Your Observation Rule: Normal speed for diagnosis; reduced speed only for teaching a new movement pattern.
The “Let Me Show You” Technique (Kinesthetic Coaching)
Sometimes, the quickest way to correct an error isn’t with words, but by giving the student the physical feeling of the correct movement.
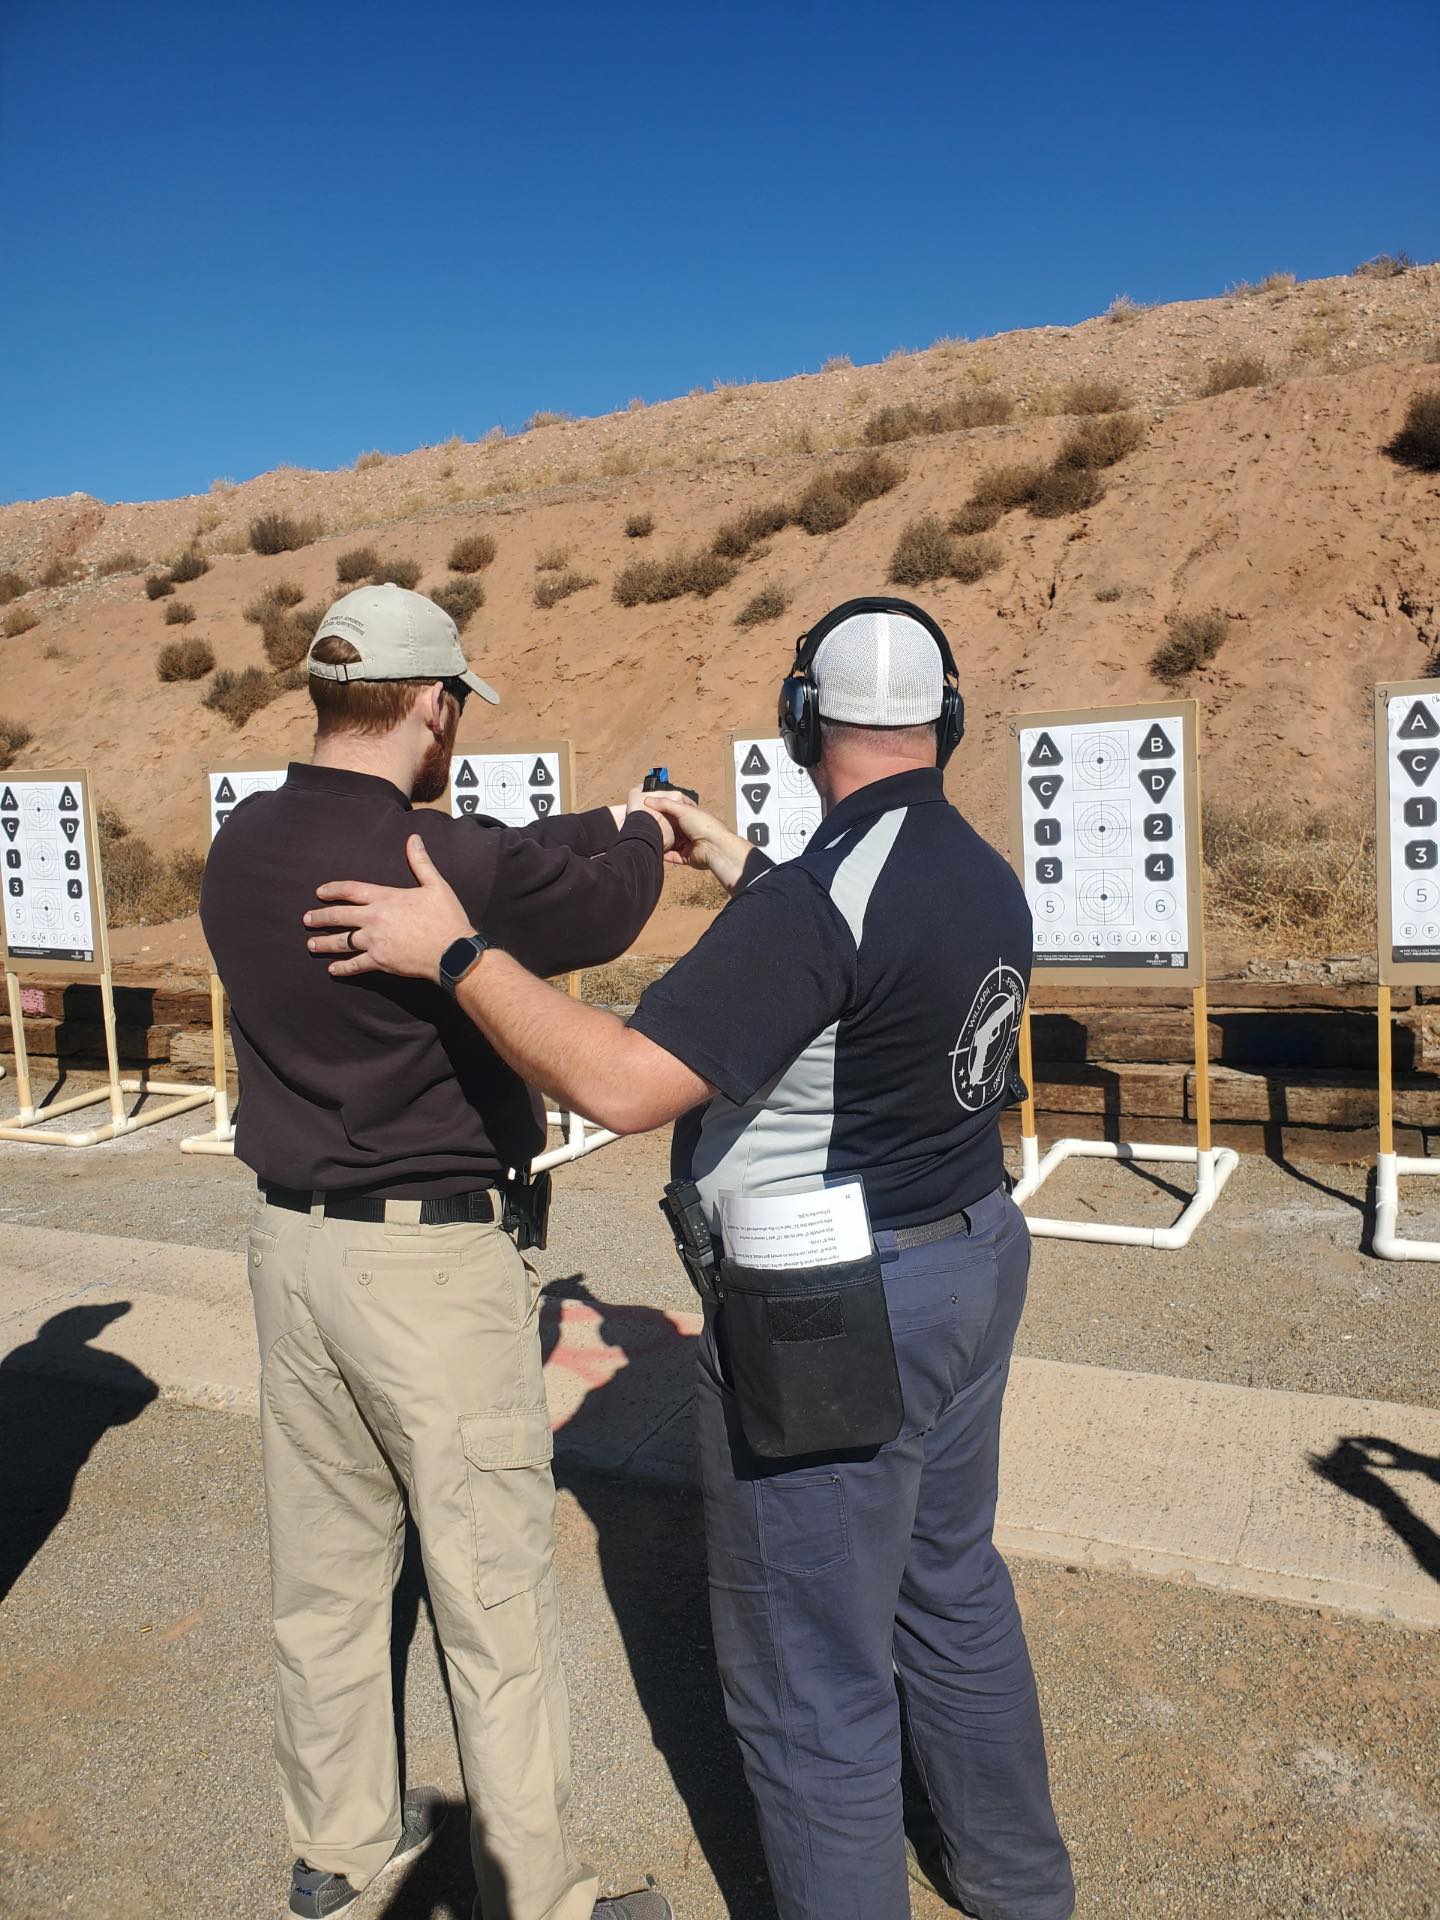
- Building the Grip: Instead of verbally describing the ideal high-tang, vice-like support grip, place your hand over their support hand and demonstrate the pressure. Have them try to pull their hands apart while you press, ensuring the heels of their palms are firmly pressed together. This immediately establishes the correct maximum contact and tension for recoil management. Be the support hand for the student on the gun and show them what it feels like when done correctly.
- Teaching the Trigger Press: The Mudgett Drill includes an element where the coach presses the student’s finger on the trigger. By having the instructor or coach isolate the trigger press, the student experiences a clean and continuous break without adding the pre-ignition push or lateral movement from their own hand/forearm muscles. The goal is to isolate the finger movement from the rest of the hand and tendons. This kinesthetic feedback is often the fastest way to solve the toughest trigger control issues. “Let me show you!”
Master the Feedback Delivery (The Prescription)
Once you’ve identified the root cause (the actual why the error is happening, not just the symptom), your feedback must be precise and non-distracting and point them towards what you want them to do, not about what not to do!
- Watch Silently: “Watch without making any comments other than an occasional encouraging remark after the skill is completed.” Avoid information overload.
- Use External Focus Cues: Instead of telling the student what their body is doing wrong (internal focus), tell them what they should be focused on doing to fix it (external focus).
- Poor (Internal): “Stop dipping your head.”
- Great (External): “Keep your eyes glued to the top edge of the front sight during recoil,” or if they are shooting a pistol mounted optic, “Keep your vision on the target with both eyes open, try to read the number on the portion of the target I have you aiming at.”
🚀 Elevate Your Coaching: Stop Guessing, Start Diagnosing
Identifying that root cause and prescribing the exact corrective action is the difference between a good instructor and a master diagnostician.
If you’re ready to stop guessing and elevate your value to your students and your business by solving these toughest performance challenges, we have the answer.
We developed the 2-Day Coaching & Diagnostics Instructor Class to turn your teaching methodology into a systematic diagnostic process.
| Course Details | Information |
| Subject | Coaching & Diagnostics Instructor Class |
| Focus | Advanced Instructor Development (Not a shooting class) |
| Instructors | Heath Layman & Marcus Custer |
| Date | January 30-31st, 2026 |
| Location | Raymond, WA |
| Cost | $400 |
This intensive course is built on decades of high-stakes instruction, designed to give you a library of proven steps and drills to correct performance issues, ensuring your students succeed consistently.
Prerequisite: Participants must already possess the fundamental knowledge, skills, and attitude of a civilian firearms instructor.
Ready to enhance your diagnostic skill set?
Visit www.willapafirearmstraining.com or email heath@willapafirearmstraining.com to register today.
Are you a law enforcement firearms instructor and interested in a course like this? If so, you’ll want to find an offering of NLEFIA Remedial Training and Coaching Specialist. Check them out and find a course or better yet, host the course!